
 English
 русский
 عربى

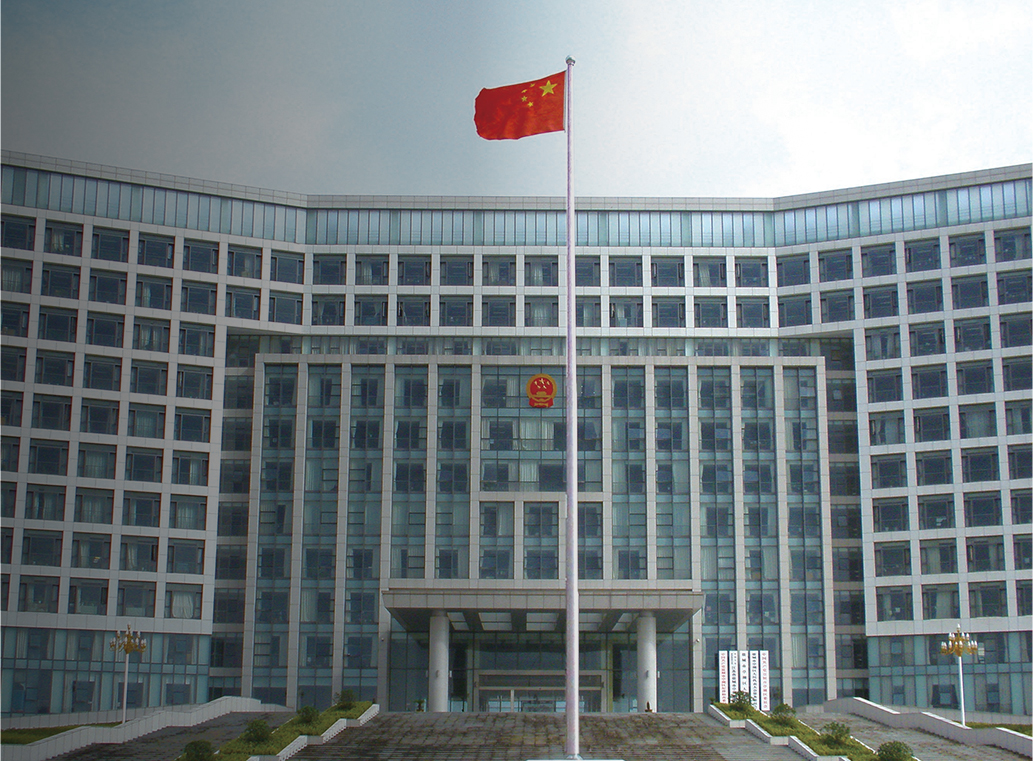

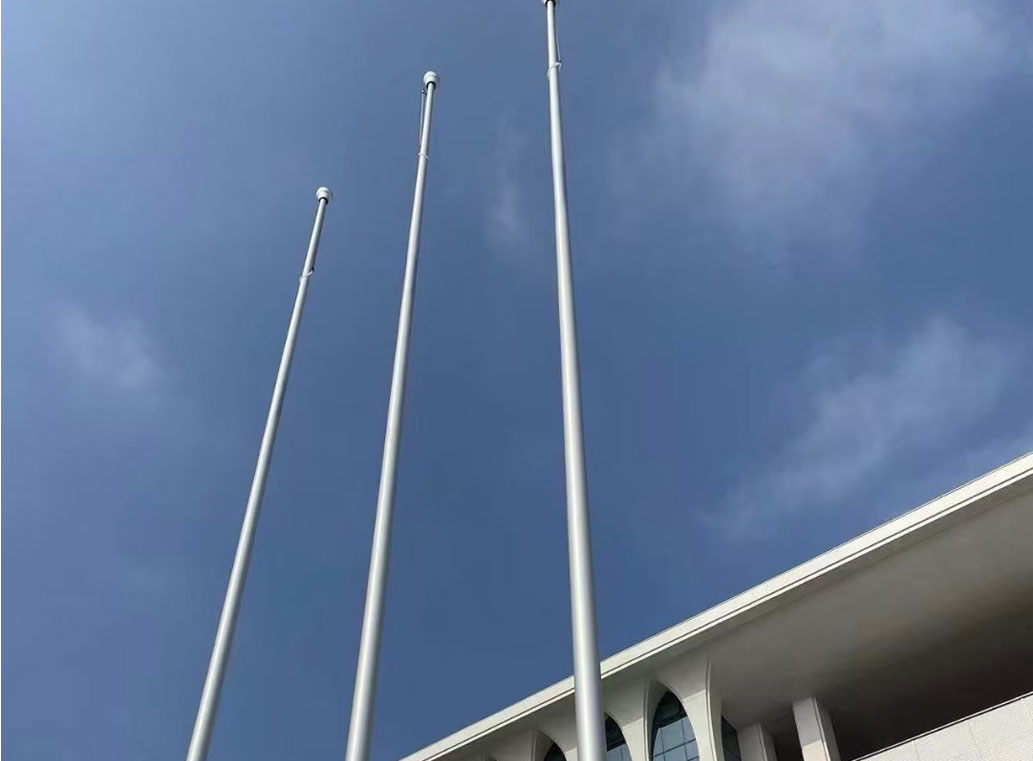
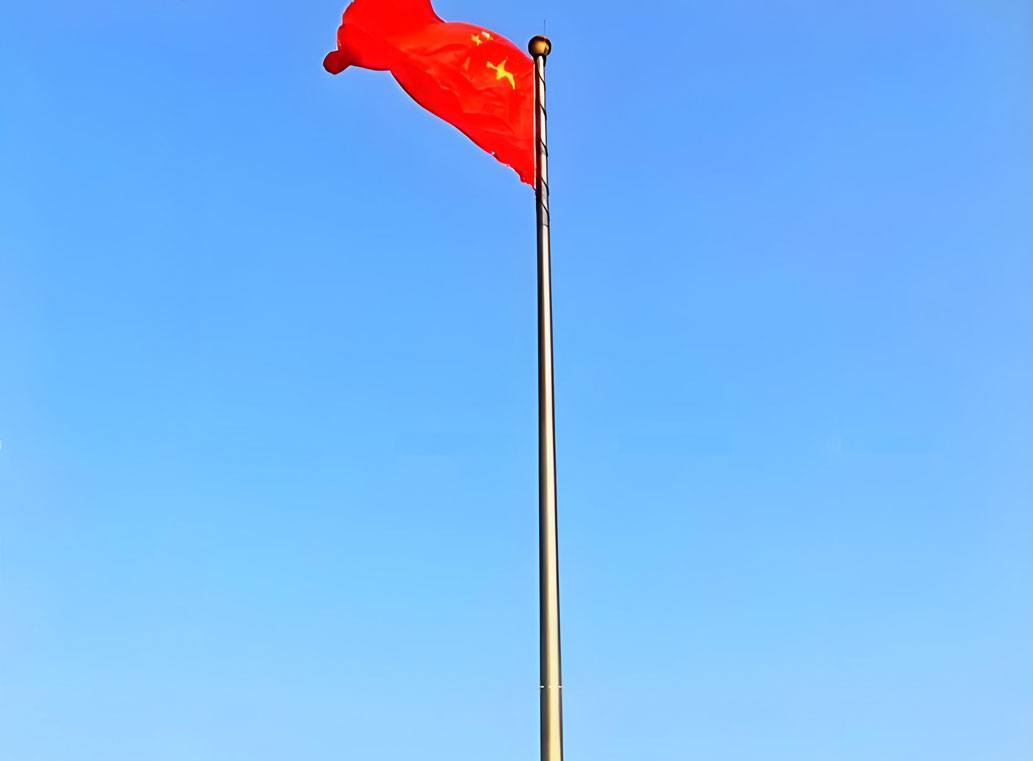
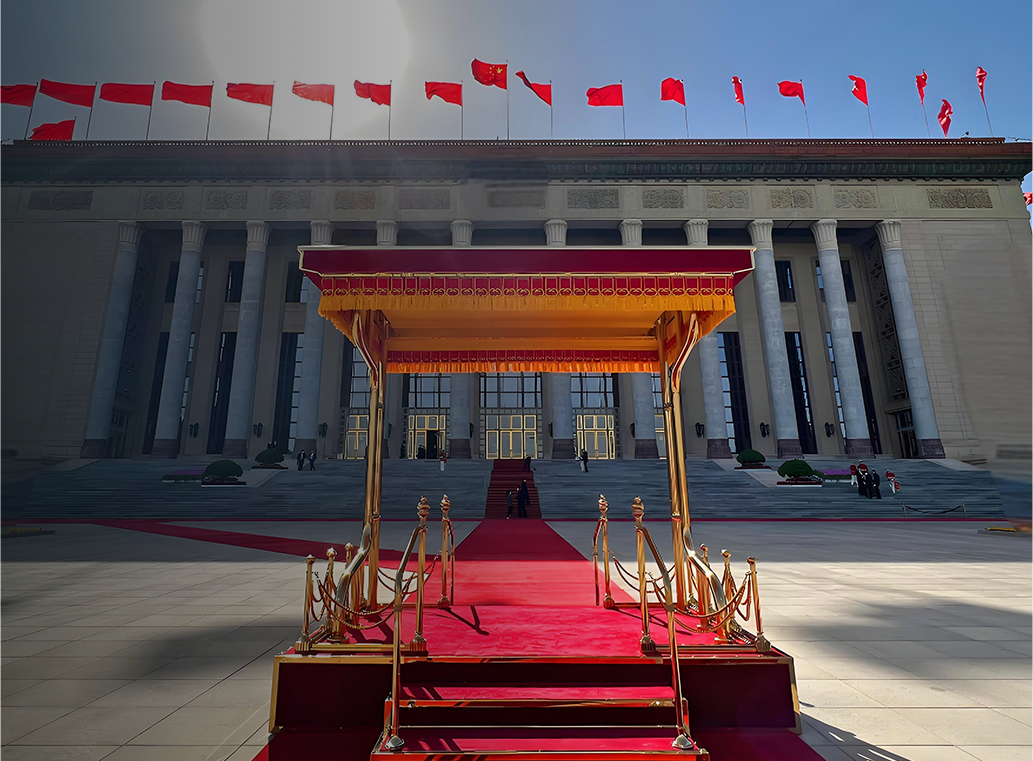
Flagpoles stand as proud symbols, gracing homes, businesses, and public spaces alike. While various materials are used in their construction, stainles......
READ MORESubmit feedback
Home / News / Industry News / How to Attach a Flag to a Flagpole Without a Pulley: Safe, Secure Methods
How to Attach a Flag to a Flagpole Without a Pulley: Safe, Secure Methods
The quickest safe answer is this: when a flagpole has no pulley, do not rely on a single zip tie, a friction wrap, or a rope pinched under a cap. Attach the flag with two independent, UV-resistant connection points, or use a flag sleeve that spreads load along the hoist. A pulley is a convenience for raising and lowering; it is not what holds the flag. The holding job belongs to grommets, clips, rings, rope, or a sleeve, and that hardware must match the flag size, pole diameter, and wind exposure.
That conclusion matters because most failures on pulley-free poles come from small assumptions. A 3 m flag on an exposed site can pull with tens of kilograms of force in a gust, especially when it flaps and shocks the attachments. A tie that feels tight in calm weather can creep, chafe, or cut the flag hem within weeks. The methods below are practical for fixed poles, short temporary displays, and poles where the halyard system has been removed or was never fitted.
Match the attachment method to the pole and flag
Before choosing hardware, identify what the pole actually offers. A pulley-free pole may still have a top truck, a finial, a cleat, a short rope loop, or a welded eye. It may also be a plain tube with no top access. The flag may have two grommets, four grommets, a pole sleeve, or a reinforced hoist with snap hooks. The attachment method should follow those facts, not the other way around.
Use the table below as a first filter. It compares common methods by hardware and exposure. The final choice still depends on safe access to the top of the pole.
| Method | Best for | Minimum hardware | Wind exposure | Main watch-out |
|---|---|---|---|---|
| Grommet-and-rope tie | Fixed pole, medium flag, semi-permanent display | Two UV-stable ropes or ties, reinforced grommets | Medium | Rope creep and hem abrasion |
| Clip-and-ring | Flag with snap hooks or rings, light halyard loop | Rated flag clips, stainless rings, thimble | Medium to high | Clip load rating and metal wear |
| Sleeve or pocket | Light banner, indoor display, short outdoor use | Pole sleeve, bottom tie or weight | Low to medium | Seam flogging and sleeve fit |
| Carabiner and eye strap | Temporary display, quick removal | Rated carabiner, eye strap, protected pole surface | Low | Metal-to-metal wear and rattling |
Check the pole, flag, and access before attaching anything
Start at ground level. Measure the exposed pole height and the flag's hoist and fly dimensions. A flag that is too large for the pole creates a lever effect at the top attachment. For a pulley-free pole, the top attachment is often the weakest point because it is difficult to inspect and retighten. If the flag area is large, reduce the flag size or add a second lower attachment to share the load.
Inspect the flag's hoist edge. Two grommets are common, but four grommets are better for larger flags because they spread tension. Check that the grommets are brass or stainless and that the fabric around them is reinforced. A torn grommet will fail before the rope does. Also check the pole surface for sharp edges, weld spatter, or a rough finial base. Any sharp point can cut rope or chafe a flag hem in wind.
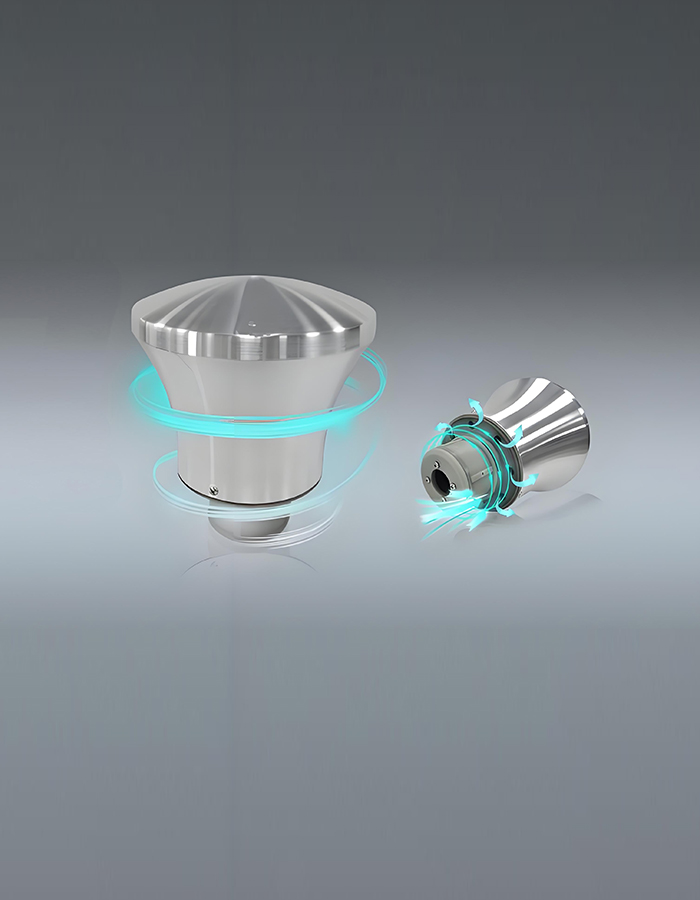 Flagpole Downwind Rotating Ball HeadA top-mounted rotating ball head with alloy construction, chrome finish, and internal bearing for smoother flag alignment; relevant when checking top fittings and attachment.View Product →
At the top, confirm what the pole is designed to accept. A rotating ball head or similar top fitting can help the flag align with the wind and reduce wrapping, but it does not replace the attachment points. If the pole has no top eye or ring, do not drill a new hole unless the pole manufacturer approves it. A field-drilled hole can weaken the tube and create a corrosion path. Use clamps or straps designed for the pole diameter instead.
Safe access is part of the method. Do not climb the pole. Use a stable ladder, a mobile lift, or a tilt-down base if the pole has one. Work with two people when possible: one to handle the flag and one to secure the ladder and pass hardware. If the top cannot be reached safely, choose a sleeve method from ground level or use a temporary flag bracket lower on the pole.
Method 1: Grommet-and-rope tie for a fixed pole
This is the most direct method when the pole has no pulley and no halyard. It works best on a pole with a top eye, ring, or clamp that you can reach safely. The goal is to tie the flag at two points: the top grommet and the bottom grommet, with each tie independent. If one tie loosens, the other still holds.
- Pass a UV-stable rope through the top grommet and around the pole or top ring. Use a smooth, braided polyester rope rather than twisted natural fiber. Natural rope absorbs water, shrinks, and rots.
- Bring the rope back through the grommet and tie a secure knot such as a double half-hitch or a figure-eight follow-through. Leave a short tail and melt or whip the end to prevent fraying.
- Repeat at the bottom grommet, but leave slight slack in the flag. A flag pulled drum-tight cannot absorb gusts and will shock the top tie.
- Check that both ties share load. Pluck the flag gently. The top and bottom should move together without one grommet taking all the tension.
For a medium flag, 6 mm to 8 mm braided polyester rope is a practical starting point, but the pole and flag manufacturer's rating takes priority. Avoid thin cord that can cut into the flag. If the grommet is large, add a stainless washer or a short webbing loop to spread the load. Do not use cable ties as the only attachment for an outdoor flag. UV light makes them brittle, and the cut tail can abrade the flag.
Inspect rope ties after the first 24 hours and again after the first strong wind. New knots settle. A rope that looked tight at installation may be loose after a week. Retie rather than adding a second knot on top of a worn one.
Method 2: Clip-and-ring attachment for flags with snaps
Some flags come with snap hooks, flag clips, or rings sewn into the hoist. If the pole has a fixed top ring or a short halyard loop, this method is faster than tying knots. The key is to use clips with a rated load and a positive gate. A decorative clip that opens under vibration is not suitable for an exposed site.
Connect the top clip to the top ring first, then the bottom clip. If the flag has four clips, use all four. Two clips can work on a light indoor flag, but four points reduce flogging and spread the load. Check that the clips sit in line with the flag's hoist. A twisted clip puts a turning force on the grommet and can wear the fabric.
Use stainless steel rings or thimbles where rope contacts metal. A thimble protects the rope eye from chafe. If the pole has a rough top ring, add a protective sleeve or replace the ring. Metal-to-metal contact between a clip and a thin ring can wear through over time, especially in coastal air. Rinse and inspect the hardware quarterly.
If the pole has no top ring, do not clip the flag to a random bracket. Use a pole clamp with a designated attachment eye, or switch to the sleeve method. A clip hanging on a smooth pole relies on friction, and friction is not a connection.
Method 3: Sleeve or pocket flag for ground-level access
A sleeve flag slides over the pole like a sock. This is often the best option when the pole has no pulley and the top is difficult to reach. The sleeve carries load along the hoist, so there are no grommets to tear out at a single point. It is common for indoor displays, light banners, and short-term outdoor use.
Measure the pole diameter at the sleeve area. The sleeve should fit closely without being tight enough to trap water. A loose sleeve will flap and wear at the seams; an overly tight sleeve is difficult to install and may split. Check that the top of the pole is smooth and capped. A sharp finial base can cut the sleeve.
Secure the bottom of the sleeve with a tie, weight, or collar to stop it riding up in wind. Do not cinch the bottom so hard that the sleeve cannot move slightly. Some movement helps the fabric shed wind load. For outdoor use, choose a sleeve fabric with UV resistance and reinforced stitching. Inspect the top seam first, because that is where flogging stress concentrates.
Wind load, flag size, and the limits of a no-pulley attachment
A pulley-free attachment is not automatically weaker, but it is less forgiving. With a pulley and halyard, the rope and cleat can be adjusted from the ground. Without that system, the flag is often fixed at two or four points, and those points take the full gust load. The larger the flag, the greater the load. The more exposed the site, the faster the fatigue.
Use these practical checks:
- Flag area: if the flag is larger than the pole manufacturer's recommendation, reduce the flag size or add attachment points.
- Site exposure: open fields, coastal sites, and rooftop poles see higher wind and more reversing load than sheltered courtyards.
- Hardware rating: use clips, rings, and rope with a stated load rating above the expected wind load, with a safety factor.
- Movement: a flag should lift and turn slightly. A rigidly tied flag shocks the grommets and pole.
- Inspection: check after the first week, then monthly in normal conditions and more often in storm seasons.
If the pole has a top fitting that accepts a rotating ball head, that fitting can reduce wrapping and spread the flag away from the pole. For accessory selection, the flagpole accessories category is a useful reference. A rotating top does not remove the need for two secure attachment points.
Procurement and installation checks for institutional projects
For a school, stadium, government plaza, or event venue, the attachment method should be written into the installation method statement. That statement should name the flag size, pole diameter, top fitting, hardware grade, rope diameter, and inspection interval. It should also state how the installer will reach the top safely. A method that depends on a ladder balanced against a pole is not a controlled method.
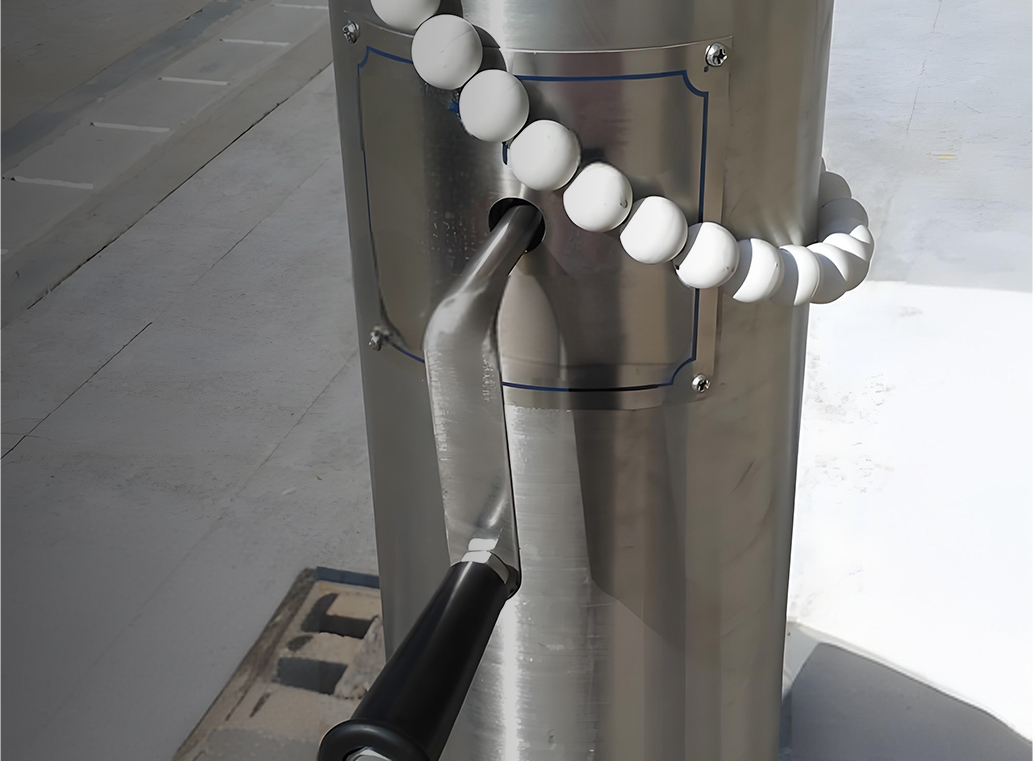
When specifying a pole for a pulley-free display, ask whether the top fitting is designed for direct flag attachment. Some poles are intended for a halyard and may not have a suitable fixed eye. Others can be supplied with a top ring, clamp, or rotating head. If the project needs frequent flag changes, a handcranked or electric lifting pole may be more practical than a fixed attachment. For example, an outdoor aluminum alloy conical handcranked lifting flagpole can reduce the need for top access, while a fixed pole with rated ties may suit a permanent display.
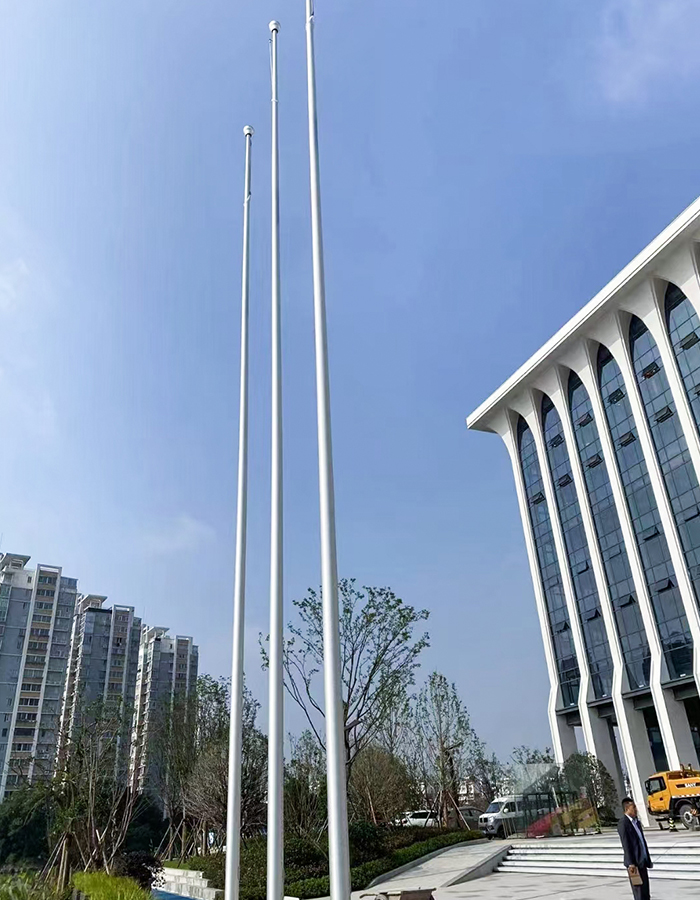 Outdoor Aluminum Alloy Conical Hand-Cranked Lifting FlagpoleAn anodized aluminum alloy conical pole with hand-cranked lifting for easier flag changes; suited to outdoor displays where top access is limited.View Product →
Check the finish and corrosion protection at the attachment zone. Stainless hardware against an aluminum pole can cause galvanic corrosion in wet, salty conditions. Use isolating washers or a protective coating where the manufacturer allows. After installation, pull-test each attachment by hand and look for movement at the grommet. A slight compression of the flag hem is normal; a torn grommet or stretched hole is not.
For long-term maintenance, keep a simple log: date, wind event, hardware condition, and any retightening. A stainless steel pole in a coastal site may need more frequent rinsing than an inland aluminum pole. The stainless steel flagpole installation and maintenance guide is a helpful reference for inspection routines, though the attachment hardware still needs its own check.
What to do when the flag keeps wrapping or loosening
Wrapping usually points to one of three issues: the flag is too large for the pole, the bottom attachment is too tight, or the pole has no rotating top. A flag that cannot turn with the wind will wrap around the pole and abrade the hoist. A bottom tie with no slack can prevent the flag from streaming away. Start by reducing tension at the bottom and checking that the top attachment allows rotation.
Loosening usually comes from rope creep, knot settlement, or clip vibration. Retie with a knot that locks, or replace the clip with one that has a threaded gate. Do not solve looseness by overtightening the flag. Overtightening transfers shock to the grommets and can tear the hem. If a grommet has pulled out, remove the flag from service and repair it before reinstalling.
The safe rule for a flagpole without a pulley is simple: use two independent attachment points, rated hardware, and a flag size that matches the pole. Tie or clip at the grommets, or use a sleeve when top access is limited. Check the top fitting before you buy hardware, and inspect the installation after the first wind event. That approach is less about finding a clever knot and more about removing single points of failure.
Previous Post
No previous article
Next Post
Where Is Half-Staff on a Flagpole? Finding the Midpoint and Checking It
News
-
-
1. Understanding the Importance of Regular Maintenance for Aluminum Alloy Flagpoles Regular maintenance of your aluminum alloy flagpole is essential ......
READ MORE -
Unique advantages of aluminum alloy: Why it is the preferred material for flagpoles In today's society, flagpoles are not only a tool for displaying f......
READ MORE -
What is the aluminum alloy electric intelligent lifting conical flagpole? The aluminum alloy electric intelligent lifting conical flagpole is a high-e......
READ MORE

Copyright Jiangsu Shengqi Weiye Intelligent Technology Co., Ltd. All Rights Reserved.
 Custom Commercial Flagpoles Suppliers