
 English
 русский
 عربى




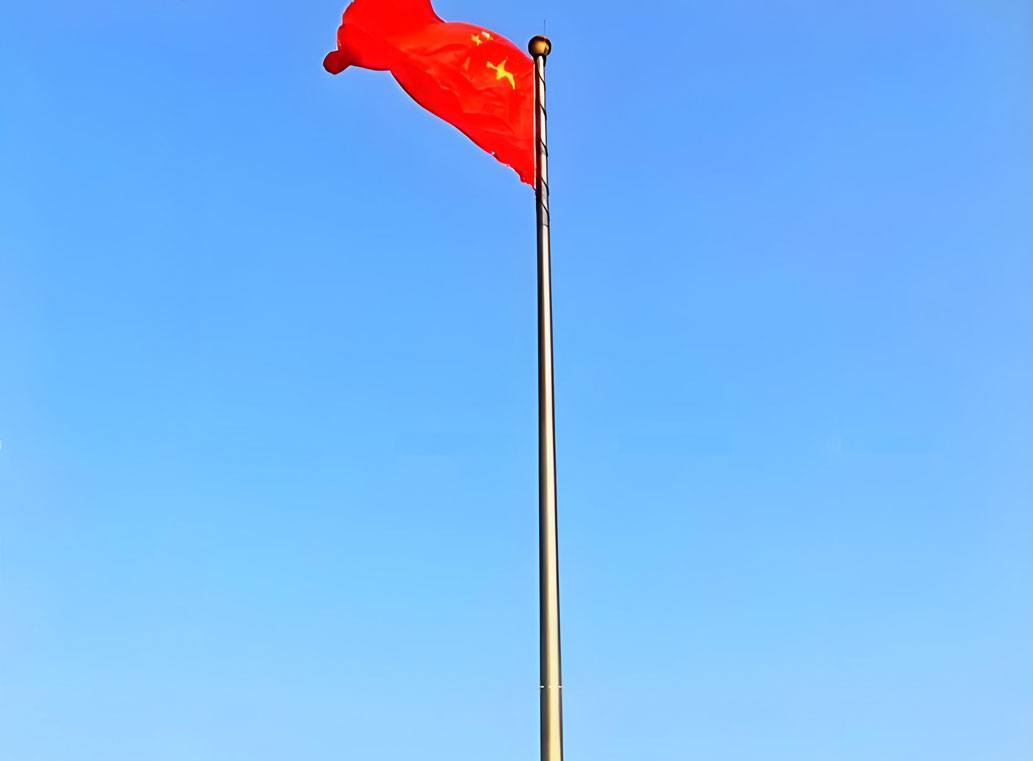
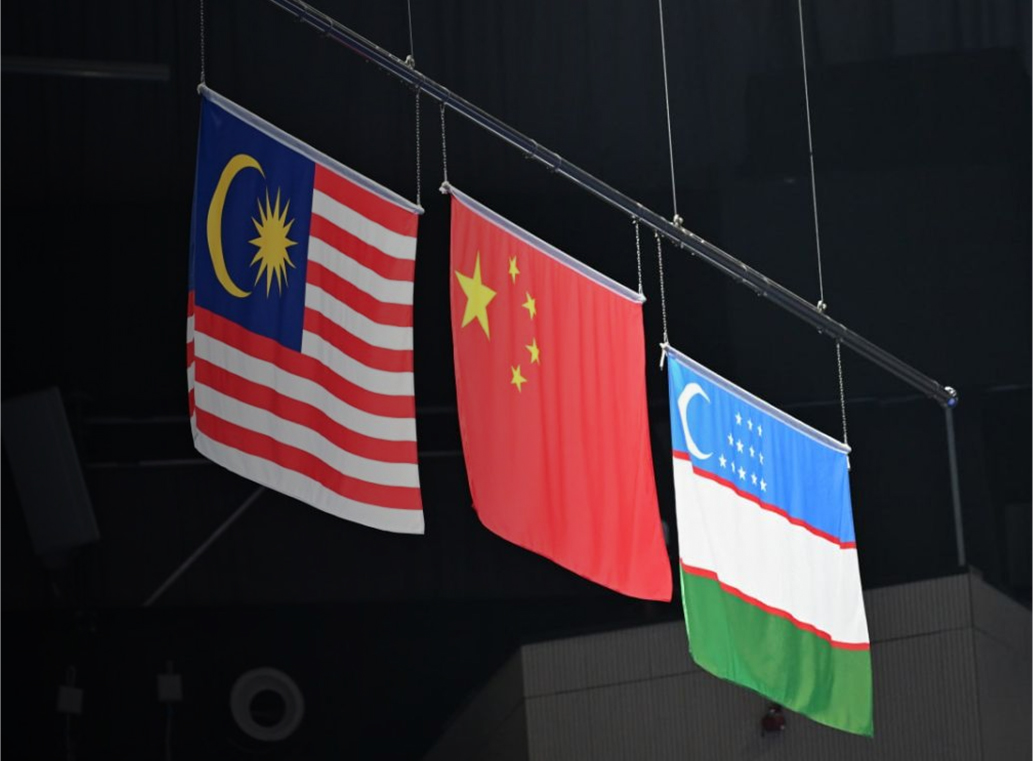

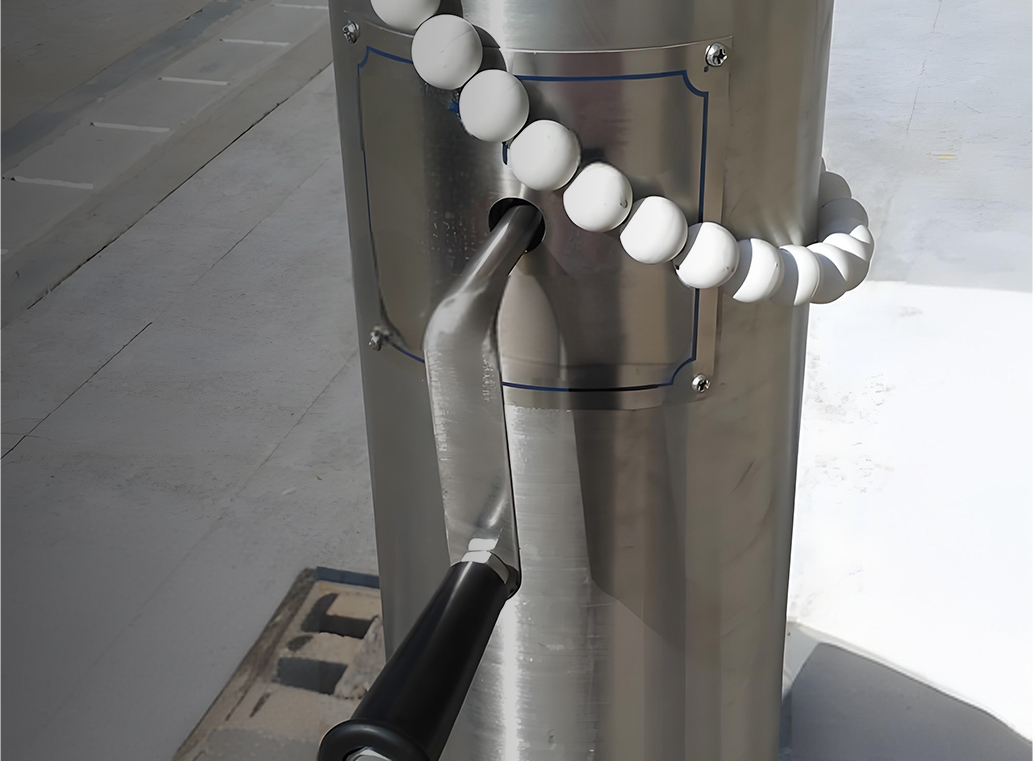

Flagpoles stand as proud symbols, gracing homes, businesses, and public spaces alike. While various materials are used in their construction, stainles......
READ MORESubmit feedback
Home / News / Industry News / How to Make a Flagpole: DIY Builds, Materials, Footings and When to Buy
How to Make a Flagpole: DIY Builds, Materials, Footings and When to Buy
A 20-foot length of Schedule 40 PVC, one 60-pound bag of concrete mix, a cast pulley and roughly 45 feet of UV-stabilized halyard will give you a working flagpole in a single weekend for under $200. That is the honest short answer to how to make a flagpole, and it comes with three conditions: the flag stays small, the ground drains, and the pole is short enough that two people can still brace it by hand while the concrete sets.
There are really only three routes that hold up: plastic pipe, timber, or metal tube. All three work below about 20 feet (6 m). Above that line, wind load, footing design and hardware quality stop being details and become the whole project. A 3 x 5 ft flag on a 20 ft pole in a 90 mph gust produces a bending moment at the base measured in thousands of pound-feet, and the weakest point on a homemade pole is almost always a joint, a coupling or a concrete collar that was poured too shallow.
What follows is a practical build guide: how to size the pole to the flag, how to dig and pour a footing that will not lean by year three, how to rig a halyard that does not jam, what each material really costs over its life, and where the do-it-yourself approach crosses into engineering territory that is better handled by a factory-made tapered pole.
Start With the Flag and the Wind, Not the Pole
Builders usually choose a material first and then buy whatever flag fits on top. The order should be reversed. The flag's area is what the wind pushes on, and that force travels down the pole into the concrete. Get the flag wrong and no material choice will save the installation.
Match the flag to the exposed height
A workable rule of thumb is that the flag's long edge should be roughly 25 to 40 percent of the exposed pole height. On a 20 ft pole, that means a 3 x 5 ft flag or a 4 x 6 ft flag at most. A 5 x 8 ft flag on a 20 ft pole looks impressive on a still day and behaves like a sail in a storm. It also wears out the halyard far faster, because every flap transfers load into the rope and the pulley.
Also remember that the flag needs clear air below it. Leave at least 6 to 8 ft between the bottom of the flag and the ground, or between the flag and any roof, hedge or sign it might catch on when the wind drops the halyard.
Wind is the real design load
Wind pressure rises with the square of speed. A common approximation for design pressure in pounds per square foot is 0.00256 multiplied by the wind speed in mph squared. At 90 mph that is about 20.7 psf. A 3 x 5 ft flag presents 15 square feet, so a fully solid plate would take roughly 310 pounds of force at the top of the pole — over 6,000 pound-feet of bending at the base. Real fabric streams and sheds most of that, so the effective load may be a third of it. Even so, you are designing for something on the order of 2,000 pound-feet, which is far beyond what a 2-inch plastic pipe can carry without a permanent bow.
Practical translation: in a sheltered suburban yard, a 20 ft DIY pole is reasonable. On open ground, near a coastline, on a ridge, or anywhere the pole will be the tallest object for 200 feet in every direction, shorten the pole or move up to an engineered product.
Check the rules before you dig
Three things need checking before the shovel comes out. First, local zoning or a homeowner association may cap flagpole height, set back requirements from the property line, or restrict the number of poles. Second, every underground utility — water, gas, electric, fiber, irrigation — needs marking; a free locate service is standard in most countries and a strike is both dangerous and expensive. Third, look up: overhead power lines, tree limbs and roof overhangs all matter when you are raising a 20 ft pole with two people.
| Flag size | Suggested exposed pole height | Minimum DIY pole specification | Typical setting |
|---|---|---|---|
| 2 x 3 ft (0.6 x 0.9 m) | 15 to 16 ft | 1.5 in Schedule 40 PVC, or a 4 x 4 in cedar post | Porch, garden bed, small front yard |
| 3 x 5 ft (0.9 x 1.5 m) | 20 ft | 2 in Schedule 40 PVC, 4 x 4 in pressure-treated timber, or 1.5 in galvanized pipe | Residential front yard, driveway island |
| 4 x 6 ft (1.2 x 1.8 m) | 25 ft | 2.5 in Schedule 80 PVC or 2 in steel tube with a welded joint | Larger lot, farm entrance, light commercial |
| 5 x 8 ft (1.5 x 2.4 m) | 30 ft and above | Tapered aluminum or steel, engineered footing, mechanical lift | Schools, sports venues, institutional frontage |
Three DIY Builds That Actually Work
Each of these has a realistic ceiling. Stay under it and the pole will serve for years. Push past it and you will be rebuilding within two seasons.
Option one: PVC pipe
PVC is the cheapest and fastest route, and the one most people mean when they search for how to make a flagpole. Use Schedule 40 at minimum, and Schedule 80 if the pole will be 20 ft or taller or will sit in a windy spot. Two-inch Schedule 40 has an outside diameter of 2.375 in, which accepts standard flagpole hardware with a little shimming; larger hardware is available for 2.5 in and 3 in pipe.
The build is straightforward. Cut the pipe to the exposed height plus the buried depth. Join sections with bell-end couplings or, better, slide a shorter length of smaller pipe inside as an internal spline and glue both ends with PVC cement — a butt joint held only by cement is the first thing to crack. Cap the top with a reducing bushing or a purpose-made plastic cap, and fit the pulley to a stainless eye bolt that passes through both walls, backed with a washer and nut. Drill a 3/8 in weep hole just above the concrete line so condensation drains, and another small hole under the top cap.
PVC's weakness is ultraviolet light. Unpainted pipe chalks and becomes brittle in five to eight years in strong sun. Two coats of light-colored exterior latex or a proper plastic primer plus topcoat will roughly double that. Do not use dark paint in a hot climate; the pipe softens noticeably when surface temperature climbs.
Option two: timber
A wooden pole suits traditional architecture, historic districts and garden settings better than any plastic pipe ever will. Use a 4 x 4 in post up to 16 ft, a 4 x 6 or 6 x 6 in post up to 20 to 24 ft. Clear cedar, Douglas fir or cypress are the durable choices; pressure-treated pine works but needs careful sealing at every cut and drilled hole.
Two options exist for the halyard. The simple one is an external rope running through a pulley on a bracket bolted to the face of the post, with a cleat below. The cleaner one is a hollow spar: rip the post down the center, rout a channel for the rope, glue it back together, then shape the outside with a plane and sand it round. It takes a full day of work but gives a straight, weather-tight pole with the rope hidden inside.
Finish with three coats of spar varnish or a penetrating oil, and re-coat every 18 to 24 months. Wood rots at the ground line first, so protect that transition — either sit the post on a galvanized shoe above the concrete or fit a metal collar that keeps soil and mulch away from the timber.
Option three: steel tube or galvanized pipe
For anything above 20 ft, metal is the right answer. One-and-a-half to two-inch galvanized rigid conduit or chain-link top rail is widely available, relatively light, and strong. Threaded couplings give clean joints, but threads are also where galvanizing fails first; coat every joint with a cold galvanizing compound or a zinc-rich paint after assembly.
Welding gives a stronger, cleaner joint, but it burns off the zinc coating in the heat-affected zone. The weld must be ground, cleaned and painted with at least two coats of a zinc-rich primer plus a topcoat. If you cannot weld, use threaded collars and a mechanical splice with a machined insert. Avoid black steel pipe outdoors; it will rust through from the inside within a decade.
Step-by-Step: Making and Setting the Pole
The sequence below applies to all three materials. Deviating from it is how poles end up leaning, jamming or cracking at the collar.
Step 1: Mark the spot and clear the line
Pick a spot with clear air around the flag in every wind direction, at least the pole's height away from overhead lines, and far enough from the property line to respect any setback rules. Drive a stake and mark a circle with string and sand. Confirm the locate service has painted the ground and that no marks are within the excavation.
Step 2: Dig the hole to the right depth and width
A reliable rule is a hole depth of 10 to 15 percent of the exposed pole height, with a minimum of 24 in (600 mm). A 20 ft pole wants a hole 24 to 30 in deep. The hole diameter should be about three times the pole diameter, so a 2 in pole gets a 6 to 8 in hole; for a 25 ft or taller pole, step up to 10 to 12 in. Wider is better than deeper once you pass the frost line.
In cold climates, the footing bottom must sit below the local frost depth or the ground will heave and tilt the pole. Ask a local builder for that number — it varies from almost nothing in mild coastal areas to well over 40 in in cold inland regions.
Step 3: Build a proper foundation
Put 4 to 6 in of compacted gravel in the bottom of the hole for drainage so water does not sit under the concrete. Then choose one of two approaches.
- Direct embed: set the pole itself in concrete. Cheapest and strongest, but the pole cannot be replaced without breaking out the concrete.
- Ground sleeve: set a plastic or steel sleeve of slightly larger diameter in the concrete, keep it plumb, and slide the pole into it afterward. This is the better choice for wood and for anything you might want to replace, repaint or upgrade later.
Mix the concrete to a stiff consistency and pour in lifts, tamping each lift with a rod to remove voids. Crown the top of the concrete slightly above grade and slope it away from the pole so water runs off. On a ground sleeve, leave 2 to 3 in of the sleeve above grade to stop soil and water entering. Before the concrete stiffens, check plumb with a spirit level in two directions at 90 degrees, and brace the pole or sleeve with stakes and wedges.
Step 4: Prepare the pole before it goes in
Do all drilling, cutting, painting and hardware fitting on the ground. Fit the finial or cap, the top pulley, the cleat at a comfortable working height of about 4 to 5 ft, and any flag clips. Seal every fastener penetration with silicone or a suitable sealant. If you are using a ground sleeve, check that the pole slides in freely and mark the final height with tape.
Step 5: Rig the halyard correctly
Buy rope that is UV-stabilized polyester double braid, sized to the flag's weight — 3/16 in for small flags, 1/4 in for 3 x 5 and 4 x 6 flags. Length should be about twice the exposed pole height plus 4 to 6 ft of tail to wrap around the cleat. Nylon stretches and holds water; avoid it.
Run the rope over the top pulley and back down through a second pulley or a smooth guide near the bottom of the pole. Thread the flag clips, tie a secure knot with the ends heat-sealed or whipped, and never rely on a single knot for a loaded halyard. Add a tensioning bungee or a flag snubber between the clips and the rope to keep the flag taut and cut down on flapping damage.
Step 6: Raise, plumb and let it cure
Two people minimum; a third is better on anything above 20 ft. Lift the pole vertically, lower it into the hole or sleeve, and hold it plumb with temporary stakes and wedges while you check both axes. Do not attach the flag yet. Keep weight and wind load off the footing for at least 24 hours, and ideally 72 hours, before flying anything; full concrete cure takes about a week. Cold weather extends that considerably.
Step 7: Final checks
With the pole standing, run the halyard up and down a dozen times and watch for chafing at the pulley. Confirm the cleat screws bite into solid material, not just the outer wall of a hollow pipe. Check that the rope clears the flag from every angle. Fill the excavation with soil, slope it away from the base, and replace any turf you removed.
Choosing Materials That Survive
The purchase price is only part of the story. A $120 plastic pole replaced twice costs more than a $500 metal pole bought once, and a leaning pole costs more still once you count the concrete, the labor and the damage to whatever it lands on.
Metal choice within the same family matters too. Galvanized steel is the value option but will eventually rust at cut ends, welds and threads. Aluminum is lighter, will not rust, and accepts a taper that sheds water and looks sharper — which is why most commercial poles are tapered aluminum. Stainless steel 304 handles most inland conditions; 316 is the correct grade within sight of salt water. Titanium sits at the top of the range for coastal and highly corrosive sites, where its cost is offset by decades of service without repainting. If you are weighing grades in detail, our guide to stainless steel flagpoles walks through selection, installation and upkeep.
| Material | Indicative cost | Expected service life | Upkeep | Suits |
|---|---|---|---|---|
| PVC Schedule 40 or 80 | Lowest | 5 to 12 years | Repaint every 5 to 8 years for UV protection | Short poles, temporary installations, tight budgets |
| Pressure-treated or cedar timber | Low to moderate | 10 to 20 years | Re-oil or varnish every 18 to 24 months; watch the ground line | Traditional settings, gardens, historic districts |
| Galvanized steel | Moderate | 15 to 25 years | Touch up welds and threads; check interior for corrosion | Tall DIY poles, farm and industrial sites |
| Tapered aluminum | Moderate to high | 25 to 40 years | Wash annually; inspect the lift mechanism | Commercial, institutional, sports venues |
| Stainless steel 304 / 316 | High | 30 to 50 years | Occasional wash; 316 for coastal air | Coastal sites, premium frontage, long-life projects |
| Titanium | Highest | 40 years and beyond | Minimal | Salt-spray environments, low-maintenance briefs |
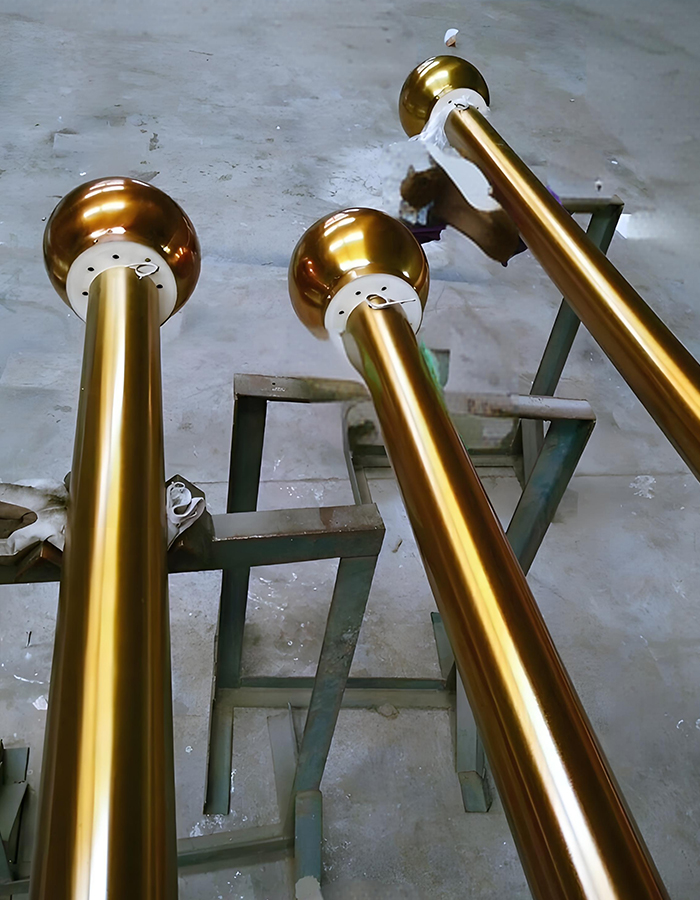 Titanium Conical Hand-Cranked Flagpole for Corrosive SitesA titanium conical flagpole with hand-crank lift, positioned for coastal or highly corrosive settings where long service life justifies the premium.View Product →
Hardware, Halyard and the Details People Forget
The pole is the visible part, but the hardware decides whether the flag goes up smoothly in year eight. Buy cast or machined pulleys with sealed bearings rather than stamped sheet-metal wheels; the price difference is small and the difference in jamming is not.
- Top pulley: at least 3 in diameter so the rope bends gradually and does not fatigue.
- Cleat: bronze or cast aluminum, bolted through both walls with a backing plate inside the pole.
- Finial: a ball or ornament that caps the top and keeps rain out of the tube.
- Flag clips: stainless snap hooks, sized so they cannot slip off the halyard.
- Snubber or tensioner: keeps the flag from hammering the rope in gusty conditions.
- Anti-wrap device: on exposed sites, a rotating arm or a free-turning ball head at the top lets the flag swing around the pole with the wind instead of wrapping the halyard into a knot.
That last item is often skipped on DIY builds and regretted within a season. A wind-driven flag that wraps around its own rope can take an hour to free and will chafe through a halyard in a couple of years. Purpose-made
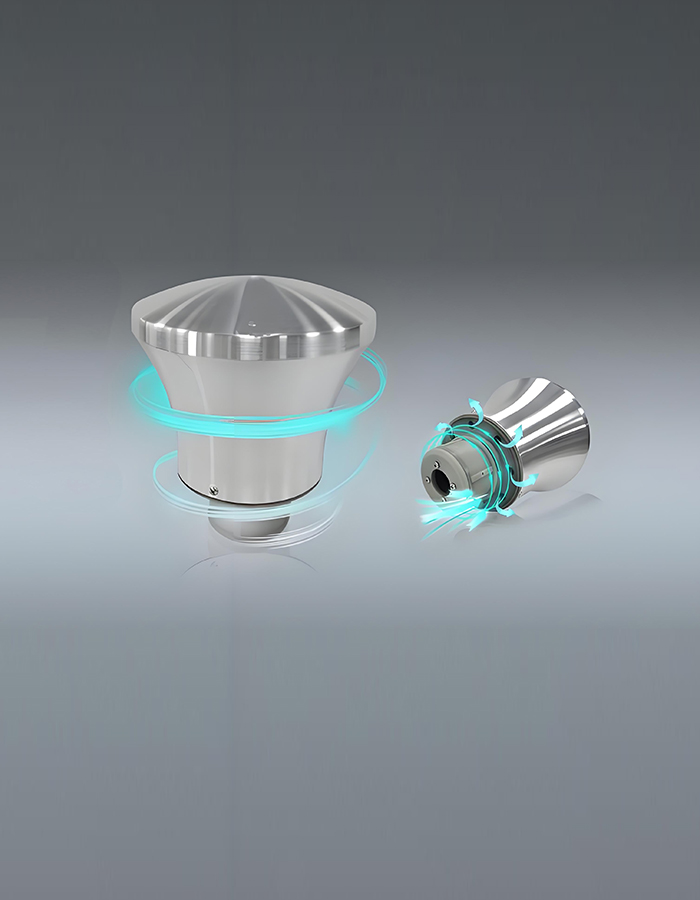 Downwind Rotating Flagpole Ball HeadA precision-cast alloy ball head with internal bearing for smoother rotation at the pole top, reducing halyard strain from wrapped flags.View Product →
solve the problem at the top of the pole rather than at the cleat.
One more detail: the halyard should never be so tight that it hums. Leave a small amount of slack and take it up on the cleat, and in storms drop the flag entirely rather than leaving it to whip.
Six Mistakes That Cost the Most
- Pouring a footing that is too small. A 6 in diameter, 18 in deep hole under a 20 ft pole will lean within two winters. Depth and diameter both matter.
- Jointing pipe with cement only. A butt-glued PVC joint has almost no bending strength. Always use an internal spline or a proper coupling.
- Skipping the drainage gravel. Water trapped under the concrete freezes, expands and lifts the whole assembly.
- Fitting the cleat with self-tapping screws into a hollow tube. It will pull out under load. Through-bolt it.
- Flying the flag during the cure. Concrete gains strength slowly; a windy day at 24 hours can shift a pole permanently.
- Using the wrong rope. Clothesline, polypropylene and natural fiber all fail fast in sunlight. Use UV-stabilized polyester double braid.
Where DIY Stops Making Sense
The crossover point is not a fixed height; it is a combination of height, flag area, wind exposure and consequences of failure. A 25 ft pole in a sheltered garden is a reasonable DIY project. A 25 ft pole at the edge of a sports field, where a failure could drop a pole and a pulley onto people, is not.
Three technical thresholds matter. First, bending strength: above about 25 ft, the wall thickness and taper needed to resist design wind loads are rarely available in hardware-store tube, and a straight, constant-diameter pipe of adequate wall thickness becomes heavy and expensive. Second, foundation design: a tall pole needs a footing sized from soil bearing capacity and overturning moment, which is an engineering calculation, not a rule of thumb. Third, the lifting mechanism: hand-cranked halyards become hard work with a large flag, and powered winches, internal halyards and remote control systems are not something you assemble from parts in a garage.
This is also where liability enters the picture. Institutions, schools and municipal sites generally need a product with a documented wind rating, a load calculation and a warranty — documents a homemade pole cannot supply. That is the point at which buying becomes the cheaper decision, and where a factory-made tapered pole with an integrated lift makes practical sense. The outdoor flagpole range covers the standard configurations used on these sites.
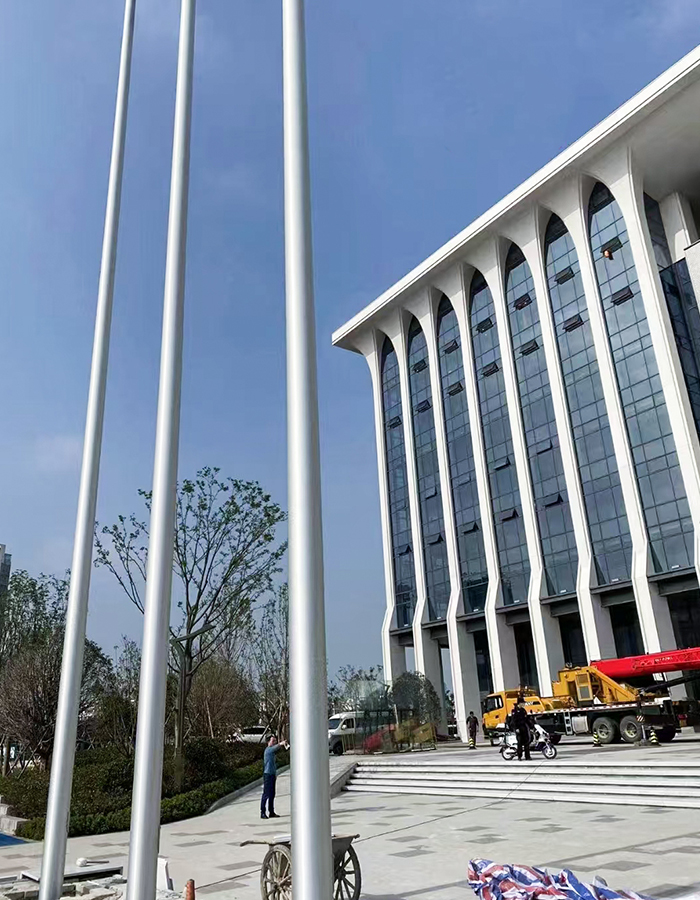 Aluminum Alloy Electric Intelligent Lifting Conical FlagpoleA factory-made tapered aluminum flagpole with electric intelligent lift, remote control and timed operation for institutional or commercial sites requiring efficient flag-raising ceremonies.View Product →
What to Specify If You Decide to Buy
A supplier can only quote accurately if you give them the operating conditions, not just a height. The list below is the minimum a project engineer should be able to answer before requesting pricing.
- Exposed height in metres or feet, measured from finished grade to the top of the finial.
- Flag dimensions and the number of flags to be flown, including whether they fly side by side.
- Design wind speed for the site, from the local building code rather than an estimate.
- Lifting method: internal halyard, external halyard, hand crank, electric winch, or a fully automated system with remote control.
- Material and finish: aluminum with anodizing or powder coat, stainless grade 304 or 316, or titanium for severe exposure.
- Foundation type: ground sleeve, base plate on an existing slab, or a hinged base for maintenance access.
- Accessories: finial, cleat, flag clips, snubber, anti-wrap device, lighting, solar power for the lift.
- Documentation: wind load calculation, foundation drawing, warranty terms and spare parts availability.
Two specification details catch people out. First, "height" is ambiguous — confirm whether the quoted figure includes the buried section or the finial. Second, coastal projects need the right stainless grade or a titanium option stated explicitly; a generic "stainless" quote often means 304, which will pit within a few years in salt spray.
Cost Benchmarks and a Realistic Timeline
For a 20 ft residential pole, a PVC build typically lands between $80 and $200 in materials, a timber build between $200 and $500 depending on species and hardware, and a galvanized steel build between $250 and $600. Add $30 to $80 for concrete and gravel, and $60 to $150 for decent pulleys, cleats and rope if you buy hardware separately rather than as a kit.
Factory-made tapered aluminum poles of the same height start higher, typically several hundred dollars and upward depending on wall thickness, finish and lifting method. Taller poles with powered lifts move into a different category entirely, since the mechanism, control system and foundation design make up a large share of the price.
Time budget: half a day to gather materials, two to three hours to cut, drill and assemble the pole, one to two hours to dig and pour, then a week of waiting before the first flag goes up. A ground-sleeve installation adds about an hour but saves far more than that the first time the pole needs repainting.
Keeping the Pole Standing
Maintenance is short but it is not optional, and most of it takes minutes.
- Every three months: run the halyard full travel and look for fraying, then check the cleat and pulley fasteners.
- Twice a year: inspect the base for cracks, soil erosion or a widening gap between pole and concrete.
- Annually: wash the pole with mild soap, touch up paint or anodized surfaces, and check the finial and top pulley.
- Every three to five years: replace the halyard before it fails rather than after, and renew the protective coating on timber.
- After any storm: check plumb with a level, inspect the top fitting, and confirm the footing has not shifted.
One habit makes the biggest difference: drop the flag before high wind arrives. A flag left up in a gale damages the fabric, wears the halyard and loads the pole far beyond its normal duty. It takes thirty seconds and adds years to the installation.
Making a flagpole yourself is a genuinely achievable weekend project, provided you match the pole to the flag, dig a footing sized for the load, joint the sections properly and use hardware that will still work in a decade. PVC, timber and galvanized steel all deliver good service at 20 ft and below in normal exposure.
Above that height, or on any site where the pole will stand alone in open wind or where a failure would put people at risk, the calculation shifts. Tapered aluminum, correct stainless grades or titanium, a designed footing and a proper lifting mechanism are not upselling — they are what keeps a tall pole vertical for the next thirty years. Decide which side of that line your site sits on before you buy the first bag of concrete.
Previous Post
No previous article
Next Post
How to Attach a Flag to a Flagpole Without a Pulley: Safe, Secure Methods
News
-
-
1. Understanding the Importance of Regular Maintenance for Aluminum Alloy Flagpoles Regular maintenance of your aluminum alloy flagpole is essential ......
READ MORE -
Unique advantages of aluminum alloy: Why it is the preferred material for flagpoles In today's society, flagpoles are not only a tool for displaying f......
READ MORE -
What is the aluminum alloy electric intelligent lifting conical flagpole? The aluminum alloy electric intelligent lifting conical flagpole is a high-e......
READ MORE

Copyright Jiangsu Shengqi Weiye Intelligent Technology Co., Ltd. All Rights Reserved.
 Custom Commercial Flagpoles Suppliers