
 English
 русский
 عربى
عربى






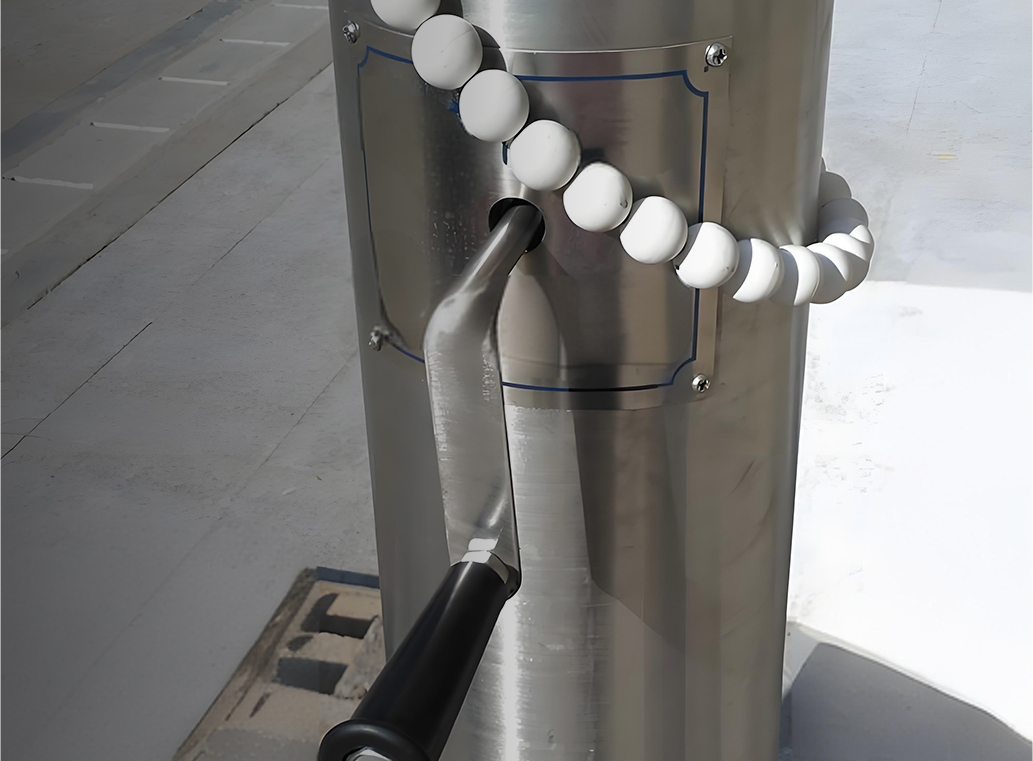

Flagpoles stand as proud symbols, gracing homes, businesses, and public spaces alike. While various materials are used in their construction, stainles......
READ MORESubmit feedback
Home / News / Industry News / How to Put Up a Flagpole in Your Yard: A Complete Step-by-Step Installation Guide
How to Put Up a Flagpole in Your Yard: A Complete Step-by-Step Installation Guide
Putting up a flagpole is not complicated, but the success of the project depends almost entirely on how well you prepare the foundation. A pole that is installed correctly can withstand strong winds and decades of use; one that is set in a hurry will likely lean, wobble, or pull out of the ground. This guide follows the same principles used by professional installers and flagpole manufacturers: choose the location carefully, dig a proper hole, set a solid concrete base, and align the pole before the concrete cures. If you follow these steps in order, you can expect a straight, stable flagpole that serves you well for many years.
Choosing the Right Flagpole and Location
Before you buy a flagpole, call your local utility locating service and mark any underground lines. The law often requires this, and it prevents you from cutting into gas, water, or electrical lines. Keep the pole at least 10 feet away from overhead wires, and check local rules about height and setback from property lines. Also look up to ensure the pole will not hit tree branches or a roof overhang when it is lowered.
Wind is the biggest threat to a flagpole. A flag acts like a sail, and a small increase in wind speed multiplies the load on the pole and its base. For exposed locations, choose a pole with a larger diameter or a tapered design. If you live in a hurricane-prone area, consider a telescoping pole that can be lowered during storms. The manufacturer's wind rating should match your local conditions.
For residential use, a 15 to 20 foot pole is typical. For larger properties or commercial installs, 25 to 30 feet is common. As a rule of thumb, the buried section should be about 10% of the pole length plus 6 inches. This means a 20 foot pole needs a hole roughly 2.5 to 3 feet deep.
Material choice also matters. Aluminum is lightweight and rust-resistant; stainless steel is strong and corrosion-resistant in coastal areas; titanium offers the highest durability and salt resistance, but at a higher cost. Choose based on your climate and expected wind load. A tapered flagpole with a reinforced base will handle gusts better than a straight tube of the same weight.
Understanding Flagpole Base Options
There are two common base styles. A ground sleeve is a metal pipe or sleeve embedded in concrete, with a flange at the top. The flagpole slides into the sleeve and is held by set screws. This is the easiest system to repair or replace because you can lift the pole out without digging. A surface mount base bolts to a concrete pad that is poured separately, which is convenient for taller poles or sites with existing paving. For DIY installation, the ground sleeve method is simpler because you can set the sleeve in the same pour as the foundation. Choose based on future maintenance and soil conditions.
Tools and Materials You Need
Gather everything before you start to avoid leaving the pole half-installed. The essential list includes:
- Post hole digger and a sharp shovel
- Torpedo level or a post level
- Tape measure
- Wheelbarrow and a mixing hoe
- Bagged concrete mix (fence post mix works well)
- Gravel for bottom drainage
- Ground sleeve or a pre-made pole base
- Wrench and a rubber mallet
Use a concrete mix designed for structural footings. A standard 4,000 psi mix is fine for a residential flagpole. One 50-pound bag usually covers a 10-inch-diameter hole up to 30 inches deep, but measure the actual volume to be safe. Also keep a bucket of water and a trowel nearby for finishing the top of the concrete.
To estimate how much concrete you need, multiply the hole width by itself by the depth in feet and multiply by 0.15. For example, a 1.2-foot-wide, 3-foot-deep hole needs about 0.6 cubic feet. A typical 50-pound bag of concrete yields about 0.4 cubic feet, so two bags are usually enough for that size.
Step-by-Step Installation Guide
| Flagpole height | Hole depth | Hole width |
|---|---|---|
| 15 ft | 2 ft | 12 in |
| 20 ft | 2.5 ft | 14 in |
| 25 ft | 3 ft | 16 in |
| 30 ft | 3.5 ft | 18 in |
1. Dig the Foundation Hole
Mark the center of the hole from the location you have chosen. Use a post hole digger and a shovel to remove soil. The hole must be deep enough so that the buried portion of the pole is at least 10% of the total height plus 6 inches. For a 20-foot pole, that means about 2.5 to 3 feet. The width should be roughly four times the pole diameter at the base, or at least 12 inches. This extra width provides lateral stability against wind. If the soil is sandy or loose, increase the width by 4 to 6 inches.
Keep the sides as vertical as possible and make the bottom flat. Remove any large rocks and loosen the soil at the edges. Add 2 to 3 inches of gravel at the bottom and tamp it firmly. Gravel improves drainage and keeps water from softening the concrete base over time.
2. Prepare the Concrete Base
Mix the concrete in a wheelbarrow until it is workable but not too wet. Place the ground sleeve into the hole, leaving the top at the desired height above grade, usually 2 to 4 inches. Make sure the sleeve is perfectly vertical from all sides. Use a level on the sleeve before pouring concrete.
Pour the concrete in layers of 4 to 6 inches. Tamp each layer with a piece of rebar to remove air pockets. Continue until the concrete reaches the top of the hole or just below grade. Shape the top with a slight slope away from the sleeve so water does not pool. Smooth it with a trowel.
3. Align the Sleeve
Before the concrete sets, check the level again. Adjust by tapping the sleeve with a rubber mallet. This is the last chance to correct the alignment. Once the concrete starts to set, moving the sleeve may create voids and weaken the base. If you are using a temporary cap, keep the inside of the sleeve clean.
4. Allow the Concrete to Cure
Leave the concrete undisturbed for at least 24 hours, but 48 to 72 hours is better. Keep it moist during the first day to prevent cracks. You can cover it with a plastic sheet or wet burlap. Do not attach the flagpole until the concrete has reached its full strength.
5. Set the Flagpole and Attach Hardware
Remove any temporary cap from the sleeve. If the inside of the sleeve has burrs, file them smooth so they do not scratch the pole. Insert the flagpole into the sleeve. For a telescoping pole, extend it to the desired height and tighten the pin or collar. For a fixed pole with a ground socket, align the locking bolts and tighten them evenly.
Install the truck, which is the pulley assembly, if it was not pre-installed. Thread the halyard, or rope, through the pulley and down to the cleat. Attach the snap hooks to the flag. Raise the flag slowly to check that the rope runs freely and that the flag does not catch on anything. Lower it again, and adjust the halyard tension.
Common Mistakes to Avoid
One of the most frequent errors is setting the flagpole directly into wet concrete without a sleeve. The pole can shift, and you cannot replace it later. Another is using too little concrete. A thin layer of concrete will crack under wind load. Also, avoid installing on a slope without leveling the top of the foundation. Even a slight tilt becomes obvious over time. Finally, do not forget to call the utility locator; hitting a buried cable can turn a simple project into a costly repair.
Raising the Flag and Ongoing Maintenance
When the flag is up, check that it does not wrap around the pole. A spinning truck, which is wind-driven, can help if the pole is exposed to varying wind directions. For manual poles, a good halyard system with a cleat keeps the flag at the right height and prevents chafing. Tighten the halyard just enough to keep the flag from sagging, but not so much that it pulls the pulley out of alignment.
Inspect the pole twice a year. Tighten bolts, lubricate the pulley, and check for rust or paint damage. If you live in a salt-air environment, rinse the pole with fresh water and consider a marine-grade flagpole. In cold climates, let the flag freeze dry before raising it, and use a halyard that does not stiffen in winter. Ice on the flag adds weight and can strain the pole; bring the flag down during sleet or heavy snow. With these habits, a well-installed flagpole will last generations.
The key to putting up a flagpole successfully is not special equipment or advanced skill; it is doing the foundation work correctly. By choosing a safe location, setting the concrete base properly, and allowing enough curing time, you avoid the problems that cause most flagpole failures. Whether you are installing a small aluminum pole for your backyard or a larger stainless steel model for a commercial property, the process remains the same: plan, dig, set, align, and wait. Follow these steps, and your flag will fly straight for years.
Previous Post
No previous article
Next Post
How to Keep a Flag From Wrapping Around the Flagpole: Proven Fixes and Expert Advice
News
-
-
1. Understanding the Importance of Regular Maintenance for Aluminum Alloy Flagpoles Regular maintenance of your aluminum alloy flagpole is essential ......
READ MORE -
Unique advantages of aluminum alloy: Why it is the preferred material for flagpoles In today's society, flagpoles are not only a tool for displaying f......
READ MORE -
What is the aluminum alloy electric intelligent lifting conical flagpole? The aluminum alloy electric intelligent lifting conical flagpole is a high-e......
READ MORE

Copyright Jiangsu Shengqi Weiye Intelligent Technology Co., Ltd. All Rights Reserved.
 Custom Commercial Flagpoles Suppliers