
 English
 русский
 عربى
عربى
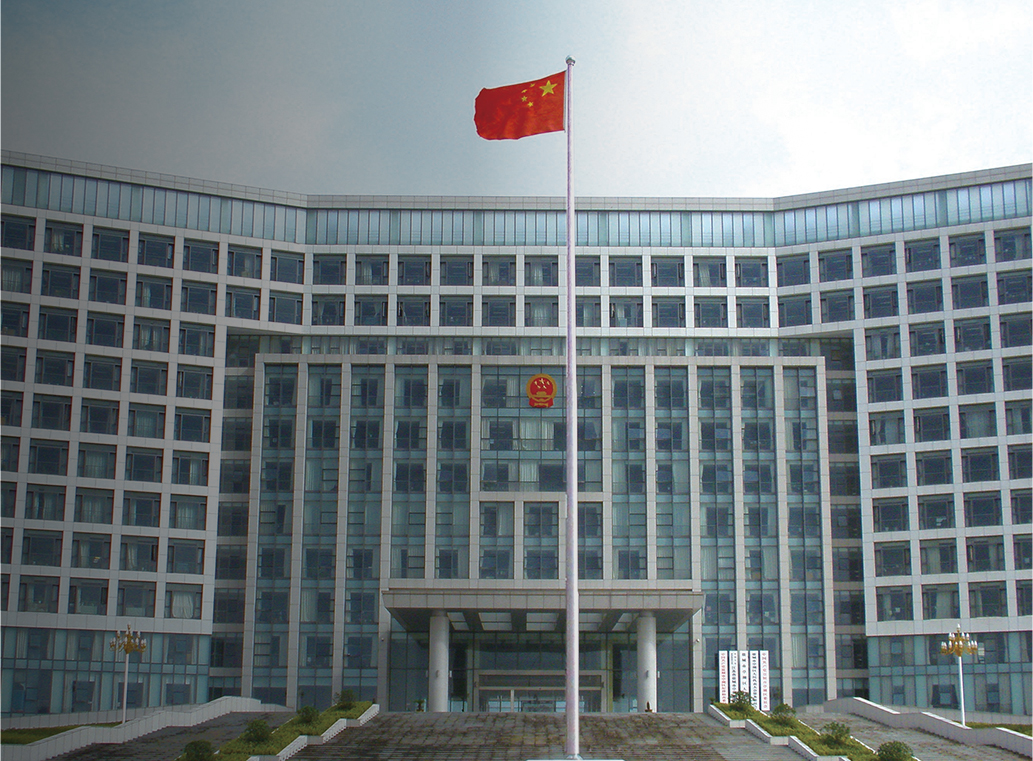
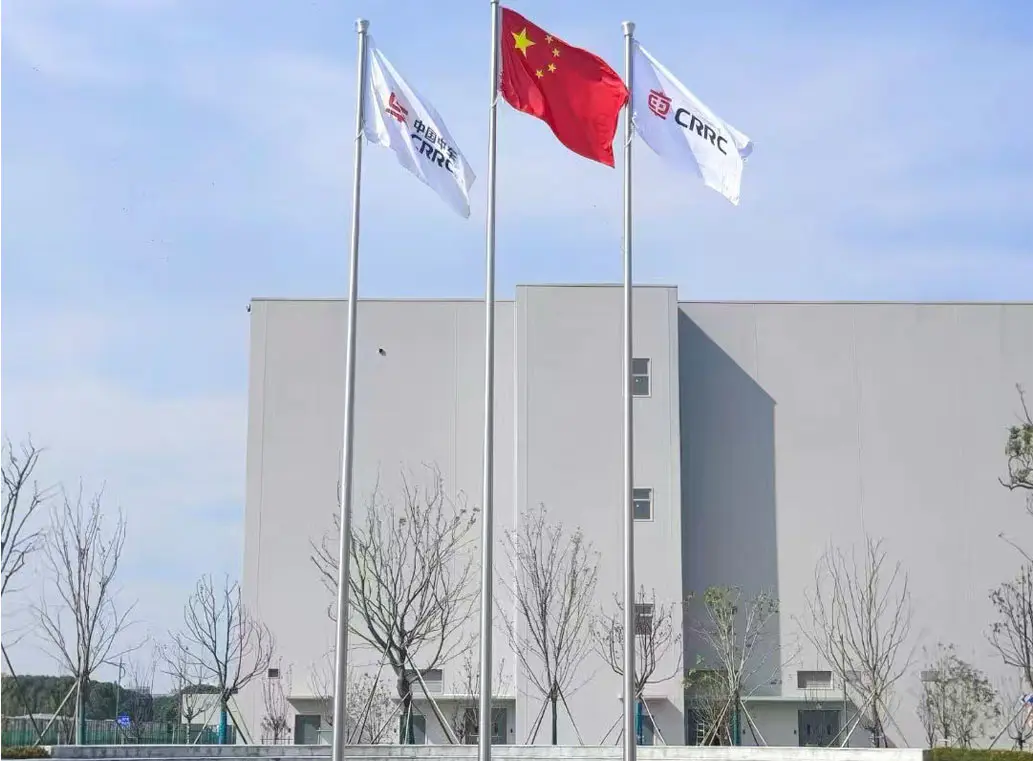
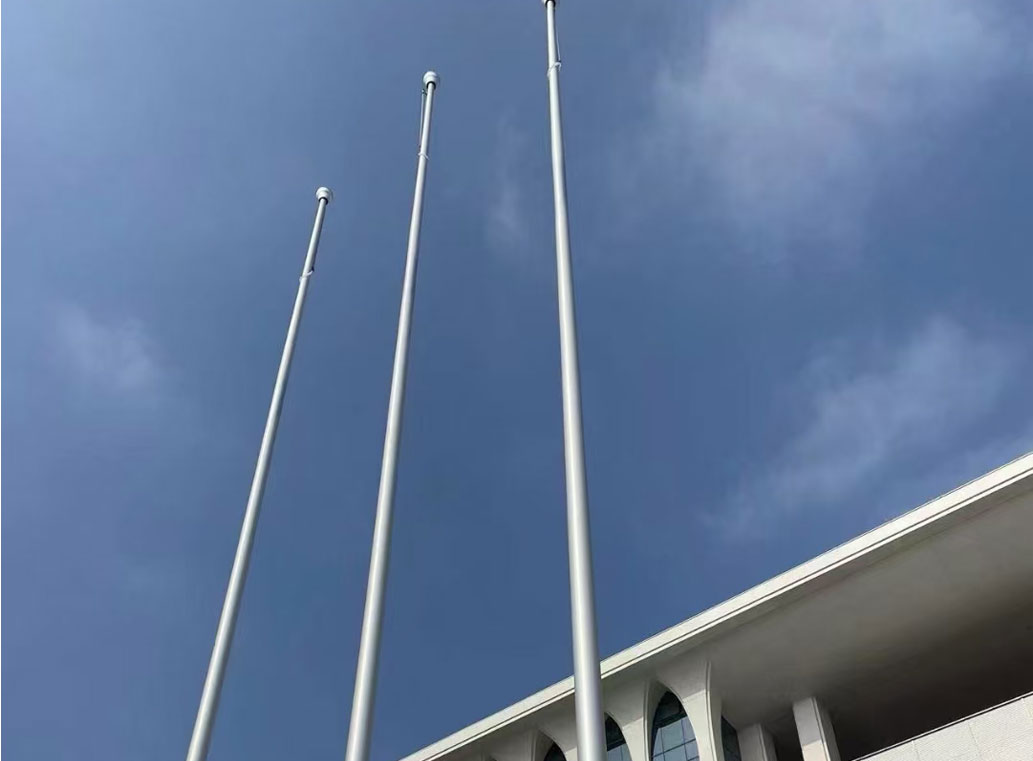
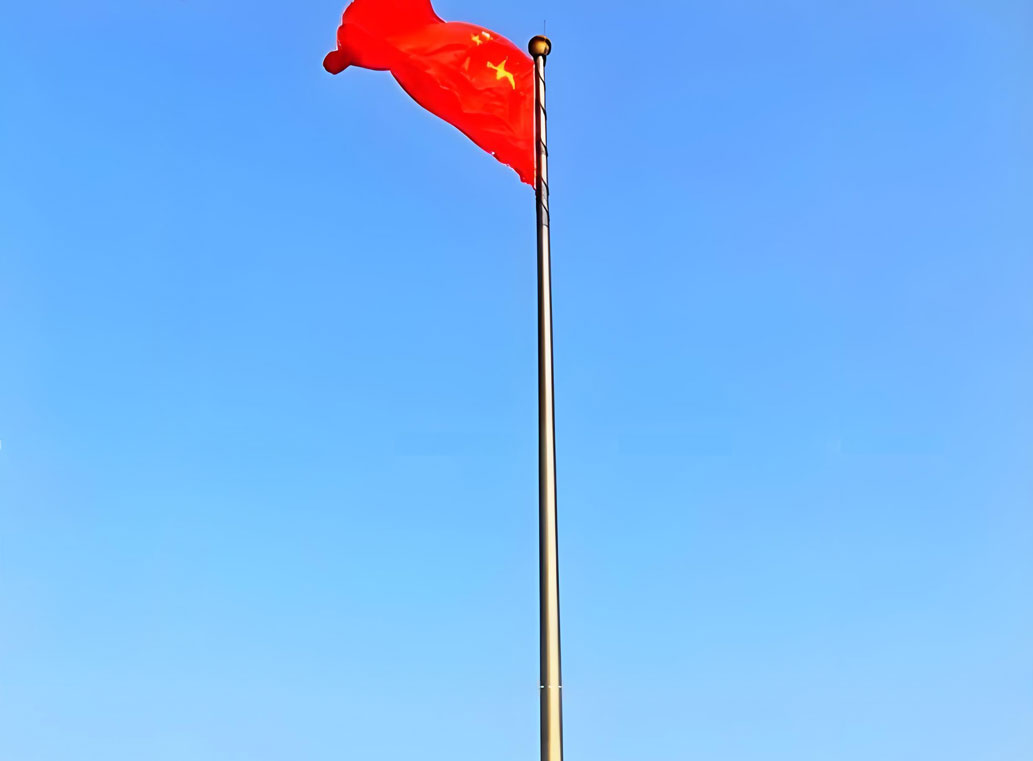

Flagpoles stand as proud symbols, gracing homes, businesses, and public spaces alike. While various materials are used in their construction, stainles......
READ MORESubmit feedback
Home / News / Industry News / How to Tie a Flagpole Rope: Complete Knot, Installation & Maintenance Guide
How to Tie a Flagpole Rope: Complete Knot, Installation & Maintenance Guide
On a blustery March morning, a maintenance supervisor at a county-owned park found the flag wrapped into a tight spiral around the top third of the pole, the halyard twisted so badly that the snap hooks had fouled each other, and the tail of the rope slipping through the cleat every time the wind gusted. The rope was original equipment from the day the pole was erected, eight years earlier. Nothing about that situation is rare. Rope failure is the most common flagpole maintenance issue across schools, government buildings, and commercial properties, and it is almost always preventable. You do not need to be a professional rigger to keep a flagpole halyard in good working order, but you do need to know how to tie a flagpole rope so that the system stays secure, untangled, and easy to service. This guide walks through the complete set of skills: choosing a suitable rope, tying the knots that hold it, attaching a flag correctly, threading or replacing a rope on a standing pole, and, just as important, keeping the whole system out of trouble — including wind-induced twisting, premature wear, and the safety risks that come with a poorly maintained installation.
Understand the Flagpole Rope System Before You Tie Anything
A flagpole rope — more correctly called a halyard — does not simply hang from a hook at the top of the pole. It is routed through a set of components that work together, and every knot you tie has to suit the way those components move. The first step in learning how to tie a flagpole rope is recognizing what you are actually working with.
The truck is the fitting at the top of the pole. On some poles it is a simple cap with one or two sheaves, which are small pulleys that the rope runs over. On others it is a rotating ball head that turns with the wind so the flag streams downwind instead of wrapping around the pole. The halyard is the rope itself, usually polyester, set up so that one side of it carries the flag and the other side is used for pulling. The snap hooks are the sprung metal fittings that clip into the grommets on the hoist edge of the flag. The cleat is the fitting near the base of the pole, normally about 1.4 to 1.6 metres above the ground, with two horizontal horns that the rope is wrapped around to hold the flag at the desired height.
There are two broad configurations you will meet in practice. The first is an external halyard system. Both ends of the rope finish at the cleat. The rope runs from a snap hook up one side of the pole, over the sheave in the truck, and down the other side. When you pull one tail, the flag rises; when you pull the other, it comes down. This is the system used on the majority of residential, school, park, and light commercial flagpoles, and it is the system every instruction in this article assumes unless stated otherwise.
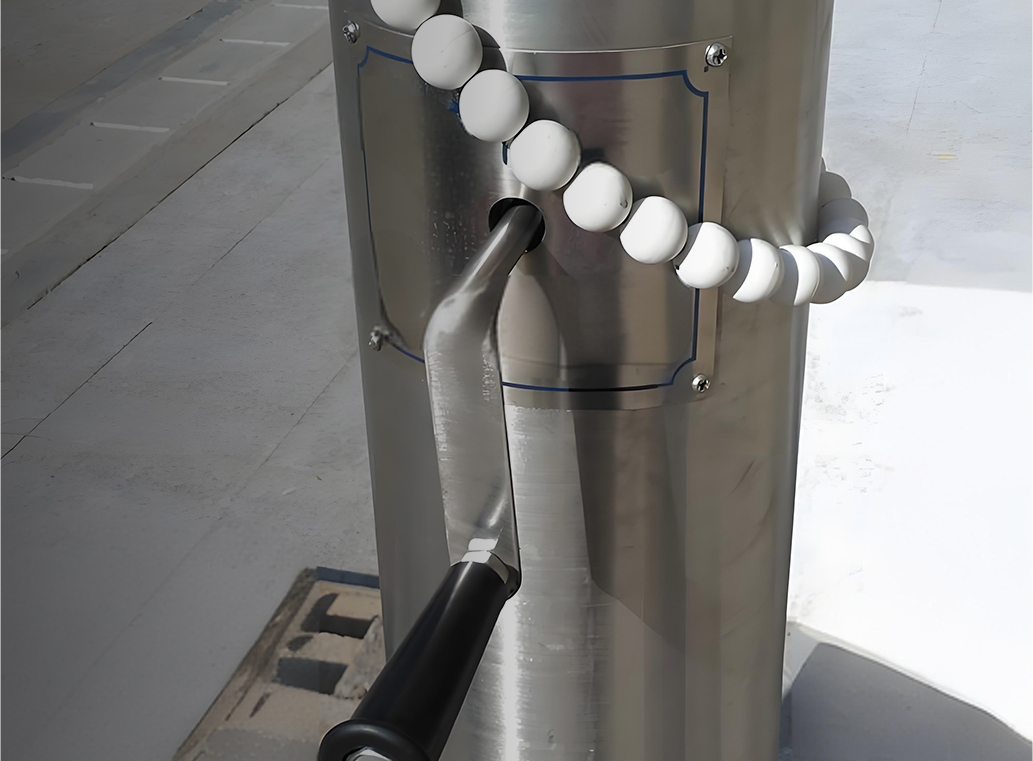
The second configuration is an internal halyard system. The lifting line runs down the inside of the pole to a drum or winch mechanism near the base. In a handcranked version, turning the crank extends or retracts the line and moves a carriage that carries the flag. In an electric version, a motor does the work. These systems involve much less routine knot work because the line is protected from weather, but they still require correct flag attachment and periodic professional inspection. We will return to them later.
The practical implication is simple: if your pole has an external halyard, your maintenance routine will involve knots, rope tension, and cleat work on a regular basis. If it has an internal halyard, your routine will be mostly inspection and occasional service. Knowing which one you have before you buy replacement rope saves you from buying the wrong product or attempting a repair that requires a factory-trained technician.
Choose the Right Rope: Material, Diameter, and Length
Most flag failures are not failures of the flag. They are failures of the rope. A rope that is too thin, too elastic, or too vulnerable to sunlight will make every other part of the system unreliable, no matter how carefully you tie your knots. Rope selection comes first because it determines how well your knots hold, how long the halyard lasts, and how much maintenance you will be doing in the years ahead.
Polyester double-braid is the best all-round choice for a flagpole halyard. It has excellent resistance to ultraviolet light, absorbs very little water, and has low to moderate stretch, which means the flag stays at a consistent height even when the rope is loaded. It also holds knots well because the braided cover provides good friction. Polyester three-strand rope is cheaper and still performs acceptably on short poles, but it tends to twist and hockle more than a braided rope, and it can develop a corkscrew shape over time. Nylon is strong and elastic, but its stretch becomes a problem on a flagpole: the flag sags, the rope behaves like a rubber band in gusty wind, and nylon loses ten to fifteen percent of its strength when wet. Polypropylene floats and is cheap, but it degrades quickly in sunlight and its slippery surface makes knots unreliable. It should be reserved for temporary or emergency use. Natural fibre ropes such as manila and sisal absorb water, rot, mildew, and stretch excessively; they are not suitable for a modern outdoor flagpole.
| Material | UV resistance | Wet performance | Stretch | Knot security | Suitability |
|---|---|---|---|---|---|
| Polyester double-braid | Excellent | Very good, low absorption | Low to moderate | Very good | Best all-round choice |
| Polyester three-strand | Excellent | Good, moderate absorption | Moderate | Good | Economical choice for low poles |
| Nylon | Fair to good | Absorbs water, loses strength | High | Good | Avoid for permanent halyards |
| Polypropylene | Poor, degrades quickly | Floats, low absorption | Moderate | Poor, slippery | Not recommended |
| Natural fibre | Poor, rots and mildews | Absorbs water, can freeze | High | Fair | Not recommended |
Diameter is a loading and fit decision as much as a strength decision. Halyard ropes do not carry heavy static loads; the flag usually weighs only a few kilograms. What matters is that the rope fits the sheave groove in the truck. A rope that is much thicker than the groove will bind as it passes over the sheave. A rope that is much thinner will flatten under load and wear unevenly against the edges of the groove. A common practical rule is to use a 6 millimetre, or 1/4 inch, double-braid polyester rope for poles between 4.5 and 9 metres tall, which covers the great majority of school and park installations. Smaller poles can use 4 to 5 millimetre rope, while monumental poles of 15 metres and above generally need 8 to 10 millimetre rope.
| Pole height | Recommended rope diameter | Typical application |
|---|---|---|
| Up to 4.5 m (15 ft) | 4–5 mm (5/32–3/16 in) | Residential and small flags |
| 4.5–9 m (15–30 ft) | 6 mm (1/4 in) | Schools, parks, commercial sites |
| 9–15 m (30–50 ft) | 8 mm (5/16 in) | Civic flagpoles, event venues |
| Above 15 m (50 ft) | 10 mm (3/8 in) | Monumental and stadium installations |
Length is the last detail people get wrong. On an external halyard system, the rope needs to be long enough to reach up one side of the pole, over the sheave, and down the other side, with enough extra at both ends to make your knots and wrap the cleat. A practical formula is to buy roughly twice the exposed pole height plus 1.5 metres. If you want a decorative tail beyond the cleat, add another half metre. It is far better to have a little extra rope and cut it to length after the first install than to discover that your halyard is 60 centimetres short when the flag is halfway up.
The Four Knots That Hold a Flagpole Together
There are elegant knots used in sailing and decorative knots used in craft work, but a flagpole halyard only needs four: the cleat hitch, which is how the rope is temporarily locked at the base; the clove hitch with locking half hitches, which is how the rope is attached to snap-hook fittings; the figure-eight loop, which is the safest way to make a fixed loop in the rope; and the bowline, which is useful when you need a loop that can be untied after heavy loading. One additional knot — a plain overhand stopper — earns its place at the end of every halyard tail.
Before you practise these on a real pole, it is worth understanding the rule that governs all of them. A halyard knot has to do three things at once. It has to hold under intermittent and gusty loads. It has to be easy to untie when the flag needs to come down. And it must not crush, kink, or chafe the rope fibres, because the same section of rope passes through the same knot dozens of times over the life of the halyard. A knot that is merely strong but impossible to untie is a liability on a flagpole, not an asset.
Cleat Hitch: The Knot That Holds a Flag at Any Height
The cleat hitch is the most important knot on an external halyard system. When the flag is raised, you pull the tail to take up slack and then lock the rope around the cleat. The cleat hitch is the mechanism that does the locking.
- Lead the rope tail under the first horn of the cleat and make one full turn around the base, or shank, of the cleat. This initial turn provides friction and takes most of the load before any of the later wraps.
- Carry the rope diagonally up to the far horn, pass it over the top of the horn, around the back, and across the front. The rope should form a neat diagonal across the centre of the cleat.
- Carry the rope diagonally back to the near horn and repeat the same over-the-top and around-the-back motion. You are now building the classic figure-eight pattern across the two horns.
- Finish with a locking hitch. Take the tail over the near horn one final time, crossing on the opposite side of the existing wrap, and tuck the tail under the last crossing to lock it.
After you complete the locking hitch, the tail should point away from the pole and should not pull out when you tug on it. The beauty of the cleat hitch is that it releases instantly: pull the tail in the opposite direction of the lock, and the whole pattern falls apart. This is why you should never replace it with a series of half hitches, which jam under load and are slow to release in an emergency.
The most common cleat hitch mistake is stopping after the figure-eight pattern without adding the final locking hitch. In calm weather the rope holds anyway, so the omission goes unnoticed. Then a strong gust arrives, the tail works loose, and the flag comes down with the knot half undone. Always finish with the locking hitch, and always check it after you hoist the flag.
Clove Hitch with Locking Half Hitches: Attaching to Snap Hooks
Snap hooks are the moving connection between the rope and the flag. Some snap hooks have a ring at the back, and some have a plain eye. The halyard is tied to that ring or eye, and the snap hook itself clips into the grommet of the flag. The most reliable way to attach a rope to a snap hook is a clove hitch finished with two half hitches on the standing part.
- Pass the working end of the rope through the ring or eye of the snap hook.
- Bring the working end around the standing part of the rope and pass it through the loop you have formed. You now have the first half of the clove hitch.
- Bring the working end around the standing part a second time and pass it through the same loop again, or pass it under the last turn to complete the clove hitch knot.
- Tie two half hitches on the standing part just above the clove hitch, positioning them so the finished knot sits square against the snap hook ring.
This combination grips firmly, does not slide along the rope, and can still be untied with gloved fingers when it is wet. If you are replacing snap hooks on an existing halyard and the old knots are jammed, cut them off rather than forcing them apart, because the damaged section of rope near a jammed knot is already weakened and will fail sooner.
Figure-Eight Loop: A Fixed Loop That Never Jams
When you want a permanent, non-jamming loop in the end of the halyard, the figure-eight follow-through is the correct choice. It is easier to untie than an overhand loop after it has been heavily loaded, and it does not crush the rope fibres in the same damaging way.
- Tie a loose figure-eight knot, also called a Flemish knot, in the rope about 30 centimetres from the end.
- Pass the working end through the ring or eye of the snap hook.
- Thread the working end back through the figure-eight knot, following exactly the same path in reverse. The knot closes into a neat loop that is actually a doubled figure-eight.
- Pull all four strands of rope in the knot tight, then set the loop to the right size for your snap hook.
Because the figure-eight loop is fixed, it cannot adjust itself. That is precisely what you want for the top snap hook on a halyard, because the distance between the two snap hooks determines whether the flag flies taut or sags. A fixed figure-eight loop keeps that distance constant until you deliberately retie it.
Bowline: The Loop You Can Untie After a Storm
The bowline is the classic knot for creating a loop that must not slip but must also be easy to untie, even after it has been loaded hard. The traditional memory aid describes it well: form a small loop in the standing part, bring the working end up through the loop, around behind the standing part, and back down through the loop. If the shape looks like a rabbit coming out of a hole, going around a tree, and going back down the hole, the bowline is tied correctly.
On a flagpole, the bowline is most useful for temporary work, such as attaching a messenger line to a rope you are about to pull over the truck. For permanent halyard attachments, the figure-eight loop is the better choice, because a bowline can work itself partially open when it is subjected to the sharp, jerking loads that a flapping flag produces. If you do use a bowline on a halyard, check it before every hoist and add a half hitch on the tail to stop it from shaking loose over time.
Stopper Knot: The Small Knot That Saves a Big Job
Finally, tie one overhand stopper knot at the very end of each halyard tail. This is a tiny measure with a disproportionately large benefit. If you lose your grip on the tail while hoisting a heavy flag, the stopper hits the sheave in the truck instead of letting the rope end escape completely. Without it, the entire halyard can disappear up through the truck in a matter of seconds, and you are left with a pole that is impossible to service without lowering the top fitting.
| Knot | Typical use on a flagpole | Load security | Ease of untying |
|---|---|---|---|
| Cleat hitch | Securing the halyard to the base cleat | Very high | Easy |
| Clove hitch with half hitches | Attaching the halyard to a snap hook | High | Moderate |
| Figure-eight loop | Fixed loop at the snap-hook end of the halyard | High | Easy |
| Bowline | Temporary loops and messenger lines | Moderate under jerking load | Easy |
| Overhand stopper | Stopping the halyard end from passing through the truck | High | Easy |
Tying the Flag to the Halyard: Positioning the Snap Hooks Correctly
A flag flies properly only when both grommets on its hoist edge are held in the same vertical plane. That sounds obvious, but a large number of poorly tied flags are the result of snap hooks placed at the wrong distance apart on the halyard. The distance between the two snap hooks has to match the distance between the two grommets on the flag. If the hooks are too close together, the flag is stretched diagonally and will flutter out of shape. If they are too far apart, the bottom of the flag hangs loose and the hoist edge twists in the wind.
- Lower the snap-hook side of the halyard until both hooks are at chest height. Untie or unclip any existing flag first.
- Attach the top snap hook to the halyard before you clip the flag on. The position of this knot decides how high the top of the flag will sit below the truck. Use a figure-eight loop for this fixed position.
- Clip the top grommet of the flag into the top snap hook. The grommet goes into the snap hook, never the rope directly through the flag material.
- Run your hand down the halyard and measure the hoist dimension of the flag, which is the vertical distance between its two grommets. Mark the halyard at that distance with a piece of tape.
- Tie the second halyard connection so that the bottom snap hook sits exactly at the mark. Use a figure-eight loop here as well, because you want the distance between the hooks to stay constant.
- Clip the bottom grommet of the flag into the bottom snap hook. The hoist edge of the flag should feel lightly taut along its whole length, with no diagonal pull at either corner.
- Raise the flag slowly by pulling the opposite tail. As the flag leaves the ground, give one quick, firm tug to seat both snap hooks against the grommets, then continue hoisting.
- When the flag reaches the top, take up the slack tail and wrap the cleat hitch exactly as described earlier.
Two refinements make this arrangement work even better in real conditions. The first is to use snap hooks with a swivel built into the back. A swivel lets the flag rotate on the halyard as the wind shifts, which reduces the twisting load that travels up into the rope. The second is to keep the top snap hook a short distance below the truck so the flag never touches the sheave or the ball head. If the top grommet rides up against the truck, it will chafe through quickly, and the repeated impact will also hammer the rope against the edge of the sheave.
Roping a New Flagpole: Threading the Halyard Correctly
The easiest way to rope a flagpole is to thread the halyard before the truck is installed on top of the pole. This is the situation you will be in if you are assembling a new pole from a kit or replacing the complete top assembly. Lay the truck on the ground, pass the rope through the sheave in the direction it will travel during normal raising and lowering, and let both tails hang down on opposite sides. Then install the truck on the pole according to the manufacturer’s instructions. If the top fitting is a ball head, check the entry and exit holes carefully before threading; a rope that rubs against a sharp edge at the entry hole will fail early, even if every knot is perfect.
Roping a pole that is already standing is a different matter. With an external halyard system, the rope must be passed over the sheave at the top without climbing the pole. The standard method is a small weighted messenger attached to the rope end.
- Tie a small, soft weight of about 60 grams — for example a cloth bag filled with sand — to the end of the new halyard using a slip knot that can be released with one sharp pull.
- Stand a few steps away from the pole and allow for some side clearance. Toss the weighted end over the truck from one side, aiming slightly beyond the sheave so that the weight drops on the opposite side of the pole.
- Let the weight fall all the way to the ground. Pull the rope gently from the other side to confirm that it is running through the sheave and not caught around the truck.
- Untie the messenger weight and discard it. Tie both snap hooks onto the halyard ends, add the stopper knots, and install the flag as described in the previous section.
The messenger method takes a few attempts, especially on a tall pole or in a breeze. The key is to use a weight that is heavy enough to fall cleanly but light enough that it will not damage the finish of the pole if it swings against the shaft. A soft bag is safer than a metal nut or washer, which can dent a powder-coated aluminium pole and leave a spot where corrosion will start later.
There is a common shortcut that you should avoid. Some people try to hook a new rope over a standing pole using a long pole or a ladder placed against the shaft. That approach is dangerous on poles above about 4.5 metres, and it is almost guaranteed to put the rope on the wrong side of the sheave or wedge it between the truck and the pole. If you cannot get the rope over the sheave cleanly with a messenger, stop and arrange for proper access equipment or a professional service.
Replacing a Worn Halyard Without Lowering the Truck
When the time comes to replace a rope, you do not need to disassemble the pole or lower the truck. The old rope is still routed through the sheave, and you can use it to pull the new rope into exactly the same path. This is the fastest and safest replacement method, provided you handle the transfer joint carefully.
- Untie the cleat hitch and let the halyard down. Remove the flag and untie or cut off the snap hooks.
- Lay the end of the new rope alongside the end of the old rope, overlapping them by about 150 millimetres. Secure the two ropes together tightly with several constrictor-style seizing turns of small twine, then wrap the entire joint smoothly with vinyl tape so that it is slightly tapered and has no snagging edges.
- Pull the old rope out from the other end, keeping the joint moving steadily through the sheave. Do not use a winch and do not jerk the rope. A rapid pull can slam the joint against the truck and damage the sheave bearing.
- When the taped joint arrives at the base, hold the new rope so that it does not pile up in a twisted heap. Untape the joint, remove the old rope completely, and set it aside for disposal.
- Tie the snap hooks onto the new rope with figure-eight loops, add stopper knots, and test the system by hoisting the flag and letting it down twice before you make the final cleat hitch.
This is also the right moment to inspect the sheave and the truck, because the rope is out of the way and you have clear access to the moving parts. Spin the sheaves by hand. If a sheave is stiff, corroded, or rough at the groove, replace it now; a worn sheave will cut into a brand-new rope within a season. Check the fasteners that hold the truck together and look for cracks in the aluminium or steel at the top of the pole. Spending the extra ten minutes during a rope replacement can easily double the life of the new halyard.
One caution applies to all replacement work. If the old rope snapped during service, the part that snapped is only the visible symptom. The shock of a snap can also damage the sheave bearing, bend the snap hook, or crack the cleat. Inspect every component in the load path before you assume that a new rope solves the problem.
Common Mistakes and the Wear They Cause
Most flagpole rope problems repeat themselves across installations because the same few mistakes are made over and over. Recognizing them early will keep your halyard healthy far longer than any single knot or rope brand.
- Tying the cleat hitch without the final locking hitch. The rope holds in calm weather and slips under load in a gust, which makes the flag come down gradually and inconsistently over time.
- Using a knot that jams, such as a plain overhand loop, at the snap hook. The flag can be raised, but it cannot be lowered without cutting the rope, and the crushed fibres at the knot become a permanent weak point.
- Mismatching rope diameter to the sheave groove. A thick rope binds and wears unevenly; a thin rope flattens and chafes against the edges of the groove. Both conditions shorten rope life dramatically.
- Leaving too much slack in the halyard after the flag is raised. The flag wraps more easily around the pole, and the two falls of the rope twist around each other into a helix that jams the snap hooks together.
- Tying the rope directly through the flag grommet instead of using a snap hook. The rope chafes the grommet, the grommet cuts into the rope fibres, and replacement of either component becomes needlessly difficult.
- Replacing only the visible section of a rope that is worn in several places. A halyard that shows heavy wear near the truck will almost always have hidden damage at the cleat and at the snap-hook knots.
- Sealing rope ends by melting them carelessly. If the melted end is rough or uneven, the finished rope can catch on the sheave and shed fibres. Cut the ends with a sharp hot knife and shape them into a clean round taper.
- Wrapping the cleat with too many turns. An excess of turns makes the cleat hitch slow to release and actually reduces holding power because the pattern becomes too crowded to seat properly.
If you take only one lesson from this list, make it the first item. The difference between a cleat hitch that holds for years and one that slips in the first storm is the small locking hitch at the end, and it costs you less than two seconds to tie.
Why the Wind Twists Your Halyard, and How a Rotating Ball Head Stops It
The most confusing failure mode on a flagpole is the one that seems to happen without anyone touching the rope. The flag is hoisted correctly, the cleat hitch is perfect, and yet after a windy weekend the flag is wrapped around the pole and the two falls of the halyard are twisted together so tightly that the flag cannot be raised or lowered. This is not a knot failure. It is a wind behaviour problem.
On a standard external halyard system, the flag rides on two parallel falls of rope, one attached to the top snap hook and one to the bottom snap hook. When the wind shifts direction, the flag first streams sideways, then wraps around the pole. Each full wrap carries the falls with it. Over the course of a storm, the two falls wrap around each other in a tight helix. Eventually the helix binds at the truck sheave, and the flag sticks halfway up or the two snap hooks meet in a tangle that cannot be pulled apart from the ground.
There are three engineering fixes for this problem, and they can be used in combination. The first is to fit swivel snap hooks, which allow the flag to rotate at the point of attachment and release some of the torsional build-up. The second is to reduce halyard slack so the flag has less freedom to wrap, but this only delays the problem when the weather is severe. The third, and by far the most reliable, is to fit a rotating ball head at the top of the pole. The ball head allows the entire top assembly to turn with the wind, so the flag remains on the downwind side of the pole and the halyard falls stay parallel instead of spiralling around each other.
A rotating ball head eliminates the majority of rope twisting and tangling problems on external halyard poles, and it also reduces the shock loading on the rope when the wind changes direction abruptly. When you compare the cost of the component with the amount of time spent untangling a 10-metre halyard even twice a year, the upgrade pays for itself quickly. The ball head is a small component, but it does more for rope longevity than almost any other decision you can make.
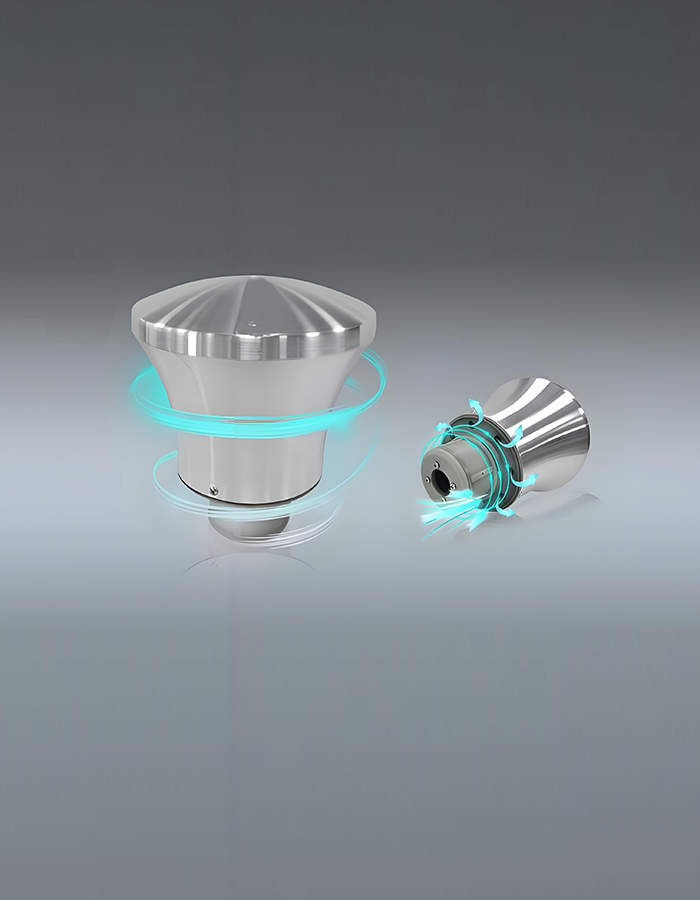 Downwind Rotating Ball Head with Chrome-Plated FinishThis rotating ball head reduces halyard tangling and rope shock during wind shifts, making it a worthwhile upgrade for external halyard poles. Its corrosion-resistant, chrome-plated design suits institutional and ceremonial flagpole use.View Product →
Internal Halyard and Handcranked Systems: Less Rope Work, Different Rules
Not every flagpole is tied by hand at the base. An internal halyard system runs the lifting line down the inside of the pole to a drum near the ground. In a handcranked configuration, turning the crank extends or retracts the line and pulls a sliding carriage up or down inside the pole. The flag is attached to the carriage through a slot, and the visible part of the halyard work is much simpler than on an external system.
The rope work on a handcranked system reduces to two tasks. The first is attaching the flag to the carriage fitting correctly, using the same snap-hook principle you would use on an external pole. The second is maintaining the correct spare line length on the drum, so that the flag reaches full hoist without over-tensioning the internal line. Too little spare line means the flag stops short of the top; too much means the line piles unevenly on the drum and can jam the crank mechanism.
Handcranked systems demand a different discipline from external halyards. The internal line is protected from sunlight, so it lasts longer, but it is also impossible to inspect visually along its full length. You should pay attention to the line where it enters and leaves the drum, and you should feel the crank action every time you use it. If the crank starts to feel rough, or if the flag stops at a slightly different height from one week to the next, stop using the pole and arrange for a professional inspection. The internal line is under tension whenever the flag is raised, and a sudden failure inside the pole can damage the carriage and the drum, not just the rope.
Outdoor handcranked flagpoles are a practical choice for sites where the aesthetic of an exposed rope is unwanted, or where the lunard is? The internal line is clean and protected, and the crank mechanism gives the user a controlled raise and lower action. The trade-off is that you lose the simplicity of a visible halyard that you can untangle and replace in ten minutes.
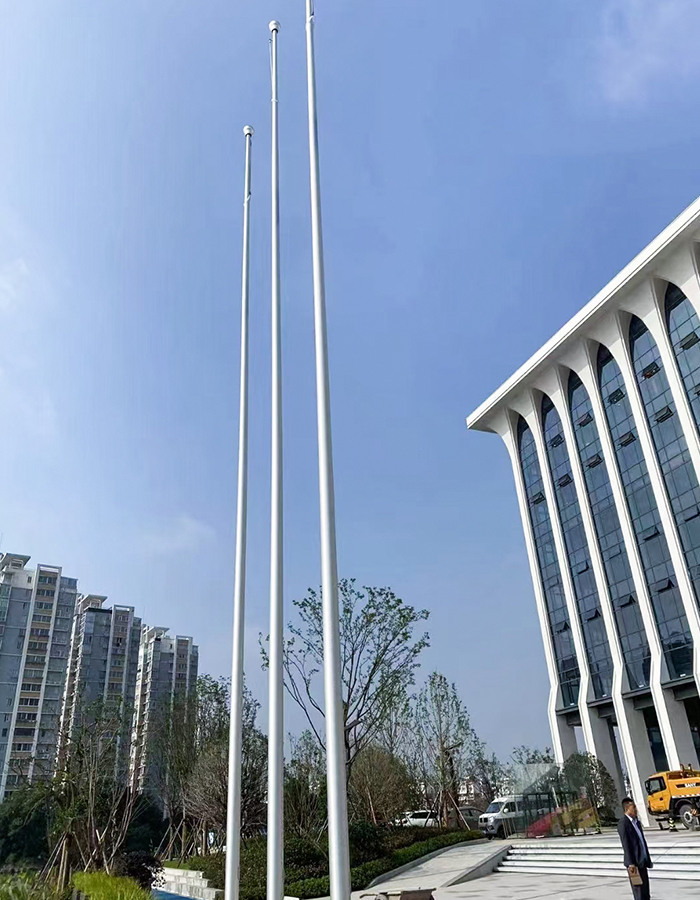 Outdoor Aluminum Alloy Conical Hand-Cranked FlagpoleA lightweight, corrosion-resistant aluminum flagpole with a conical profile that lowers wind resistance. Its internal halyard and crank mechanism keep the rope hidden, offering a cleaner look while still allowing controlled raising and lowering.View Product →
Inspection and Maintenance: How Long a Halyard Should Last
Under normal conditions, a 6 millimetre polyester double-braid rope on an external halyard will serve three to five years before the first signs of significant wear appear. In coastal salt air, intense high-altitude sunlight, industrial pollution, or a situation where a worn sheave is chafing the rope constantly, that interval can drop to 18 months. Judge the condition of the rope by inspection, not by the calendar alone.
Run the halyard through an old cloth once a month to catch snags and to feel for soft spots, hard spots, and lumps under the cover. A rope can be breaking inside its braided cover while the outside still looks acceptable. If you feel a suspicious section, lower the flag and bend the rope firmly between your hands. A healthy polyester rope springs back; a damaged one stays creased or shows a cluster of broken fibres on the surface. Surface fuzz alone is normal after a season, but fuzz that exposes the core is a sign that the rope is ready for replacement.
| Component | What to check | Suggested frequency |
|---|---|---|
| Halyard | Frays, fused fibres, flattened spots, stiffness, discolouration, loss of diameter | Monthly visual, cloth drag test |
| Snap hooks | Spring tension, bent or cracked hooks, corroded pivots | Monthly, and after severe storms |
| Cleat | Tightness of mounting fasteners, burrs or sharp edges on the horns | Every three months |
| Sheaves in truck | Free rotation, smooth groove surface, bearing condition | Every six months |
| Rotating ball head | Free rotation, no binding, no corrosion at the pivot | Every six months |
Cleaning the rope is a simple job that most people skip. When the rope looks dirty or feels gritty, wipe it down with mild soap and fresh water, then let it dry completely before the flag is hoisted again. Do not machine wash it, do not use bleach, and do not hang the rope over a hot surface to dry. A clean, dry rope holds its knots better and wears more slowly than one that has been left coated with grit and moisture.
For pole-level upkeep, such as checking weld seams, base connections, and the condition of the finish on a metal installation, our comprehensive guide to stainless steel flagpoles covers choosing, installing, and maintaining these structures in more depth. A halyard is only as secure as the pole that carries it, and a full inspection routine should cover both.
Safety First: Keep Your Feet on the Ground
Flagpole maintenance is not dangerous as long as you stay on the ground. Almost every serious accident connected with flagpoles happens when someone tries to climb the shaft, leans a ladder against it, or reaches for the truck from an unstable platform. A flagpole is a slender, flexing structure. It is not a ladder, a scaffold, or a place to stand.
- Never climb a flagpole. Even a solid-looking tapered aluminium pole flexes under the weight of a person and can fail or bend permanently.
- Use proper access equipment for any work at the truck. An aerial lift or a scissor lift with the correct working height is the right tool. A ladder resting against the shaft places the entire load on a narrow point and can dent or bend the pole.
- Keep a safe distance from overhead power lines. Aluminium flagpoles are electrical conductors, and the combination of a metal pole and a metal rope near a power line is a deadly hazard.
- Wear gloves when handling rope that is under tension, and never wrap the halyard around your hands or fingers. A rope that slips while you are pulling on it can cause serious friction burns or crush injuries.
- Use eye protection when cutting rope ends, and always cut away from your body. Wind-borne rope crumbs and fragments are an eye hazard.
- Work with a second person for poles above 9 metres. The helper keeps the rope clear and can act immediately if the halyard starts to run through the truck unexpectedly.
- For electric flagpoles, disconnect and isolate the power supply before opening any access panel, and always follow lockout and tagout procedures. Electric halyard systems contain motor drivers, limit switches, and wiring that must not be touched while energised.
These rules are not bureaucratic additions to the job. They come from the actual failure modes of flagpoles under load. A rope snap at the truck releases stored tension violently, and the whipping end of a halyard can cause a serious injury to the face or hands. Respect the system, keep it in good condition, and every hoist will be an uneventful, safe operation.
When a Rope Job Stops Being a Rope Job
There are situations where the correct decision is to put down the rope and call a professional. The line between a do-it-yourself job and a service call should be drawn before you start, not after you have made the situation worse.
If the internal line of a handcranked or electric pole snaps inside the shaft, the repair requires lifting the top fitting and accessing the length of the pole. That is not a job for a ladder and a pair of pliers. If the sheave in the truck has seized because of a failed bearing, replacing it is best done by a shop equipped with the correct tooling and a safe access platform. If the truck itself is bent, tilted, or cracked after a storm, do not attempt to straighten it on the pole; the entire top assembly should be replaced or rebuilt on the ground.
Electric flagpole systems add another layer of complexity. The halyard on an electric pole is wound and unwound by a motor, and the system includes limit switches that stop the flag at the correct height. If the rope on such a system becomes frayed, or if the flag rides at the wrong height, the fault may be in the motor drive or the switch adjustment rather than in the rope itself. Working on these systems requires isolating the electrical supply and confirming that the adjustment procedures are correct for the specific mechanism.
Facilities that are tired of dealing with rope maintenance altogether often decide to upgrade to an intelligent electric lifting system. On such a pole, the user interaction is reduced to pressing a button, and the rope inspection becomes part of an annual service instead of a monthly routine. The initial cost is higher, but the reduction in labour and down time can be substantial for sites that fly flags every day.
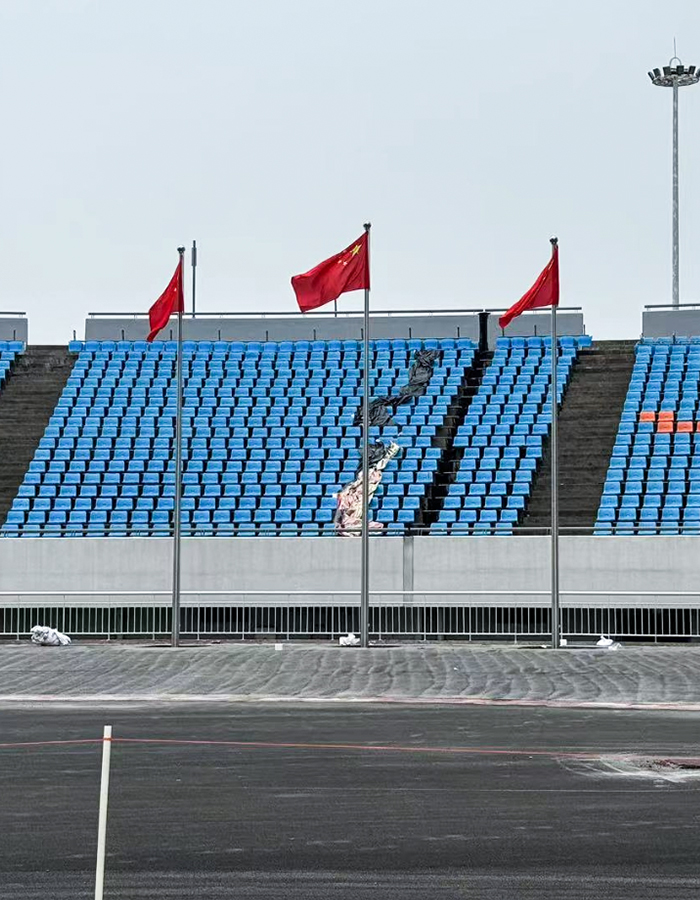 Conical Stainless Steel Intelligent Electric Lifting FlagpoleAn electric flagpole with remote or timed control, reducing daily rope handling to a button press. Its conical stainless steel build resists strong winds, making it a low-maintenance choice for high-use facilities that fly flags regularly.View Product →
Rope is the consumable part of a flagpole. It is the one component that wears out, degrades, and eventually needs to be replaced, and it is also the component that costs the least and is easiest to maintain. That is good news for anyone responsible for a flagpole, because it means the entire system stays healthy if you follow a simple, repeatable routine: choose polyester rope of the correct diameter, tie the cleat hitch with its locking hitch, attach the flag to proper snap hooks, keep the halyard free of twists, inspect it monthly, and replace it at the first sign of real damage.
You do not need to memorise every knot ever invented to be good at this job. The cleat hitch, the clove hitch with half hitches, the figure-eight loop, the bowline, and the overhand stopper are enough to handle every routine situation that will come up on an external halyard pole. Practise them while the weather is calm, keep a spare halyard pre-cut and ready in your maintenance closet, and you will find that a flagpole rope failure is a ten-minute repair rather than a crisis.
If you are comparing new equipment, the design of the pole itself affects how much rope work you will be doing over its life. Our flagpole range includes handcranked and electric models that protect the lifting line from the elements, as well as corrosion-resistant titanium options for coastal environments, and every design is built to make halyard service as straightforward as possible. A good pole, like a good rope, is one that you can maintain with confidence for decades.
Previous Post
No previous article
Next Post
How to Restring a Flagpole: A Step-by-Step Guide for Property Managers
News
-
-
1. Understanding the Importance of Regular Maintenance for Aluminum Alloy Flagpoles Regular maintenance of your aluminum alloy flagpole is essential ......
READ MORE -
Unique advantages of aluminum alloy: Why it is the preferred material for flagpoles In today's society, flagpoles are not only a tool for displaying f......
READ MORE -
What is the aluminum alloy electric intelligent lifting conical flagpole? The aluminum alloy electric intelligent lifting conical flagpole is a high-e......
READ MORE

Copyright Jiangsu Shengqi Weiye Intelligent Technology Co., Ltd. All Rights Reserved.
 Custom Commercial Flagpoles Suppliers